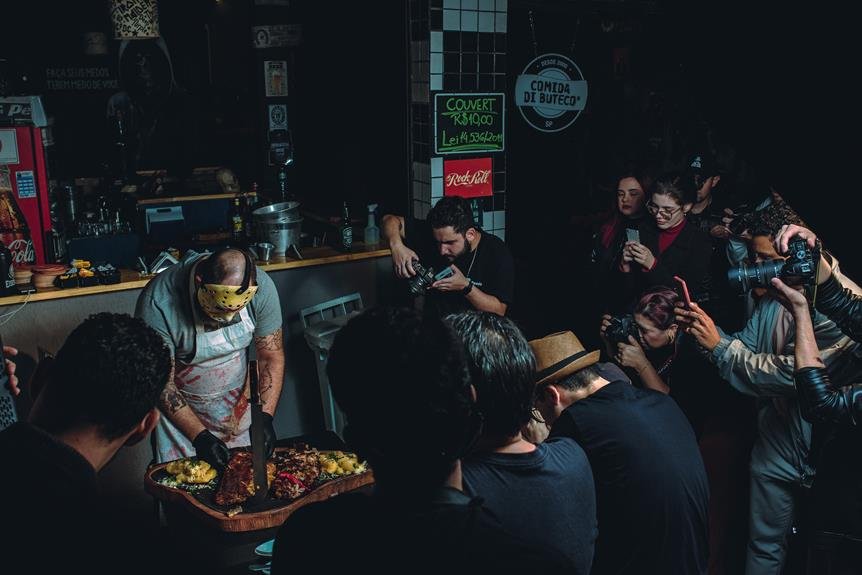
When it comes to food photography, did you know that 75% of smartphone users in the United States alone use their phones to take pictures of their food before eating it? With the rise of social media and the growing interest in culinary experiences, it's no wonder that food photography has become an art form in its own right. In this fast-paced digital age, capturing stunning food images with a compact camera has become more accessible and achievable than ever. Whether you're a food blogger, an aspiring chef, or just someone who enjoys sharing your culinary creations on social media, mastering the art of food photography with a compact camera can take your images to the next level. So, how can you elevate your food photography game and make your dishes look as delicious as they taste?
Lighting Techniques
When capturing food photography with compact cameras, it's essential to master lighting techniques to ensure your images are vivid and enticing. Natural light can be a game-changer for food photography. Position your subject near a window to capture the soft, diffused light that can enhance the colors and textures of the food. However, controlling natural light can be challenging, so incorporating artificial light sources, such as LED panels or softboxes, can provide consistent illumination. Understanding the interplay of shadows and highlights is crucial. Shadows add depth and dimension, while highlights emphasize the most appealing aspects of the dish. Experiment with different angles to see how the light interacts with the food. Utilizing reflectors can help bounce light back onto the subject, reducing harsh shadows and creating a more balanced composition. By mastering the use of both natural and artificial light, you can elevate your food photography and create captivating images that showcase the delicious details of your culinary creations.
Composition and Framing
To capture compelling food photography with compact cameras, we carefully consider the composition and framing of our shots to showcase the culinary creations in the most appealing way. When it comes to composition and framing in food photography, there are a few key techniques that can greatly enhance the visual impact of your photos.
- Rule of Thirds: This classic technique involves mentally dividing your image into nine equal parts using two equally spaced horizontal lines and two equally spaced vertical lines. The focal points of the image, such as the main dish or a stunning dessert, should align with these gridlines to create a balanced and visually appealing composition.
- Leading Lines: Utilizing leading lines in your composition can draw the viewer's eye towards the main subject of the photo. For food photography, this could be the natural lines of a table, the curve of a fork, or the edge of a cutting board, all leading the viewer's gaze to the delicious dish.
- Depth and Layers: Creating depth and layers in your composition adds visual interest to your food photography. Experiment with incorporating various elements in the foreground, middle ground, and background to add dimension and richness to your images.
Utilizing Depth of Field
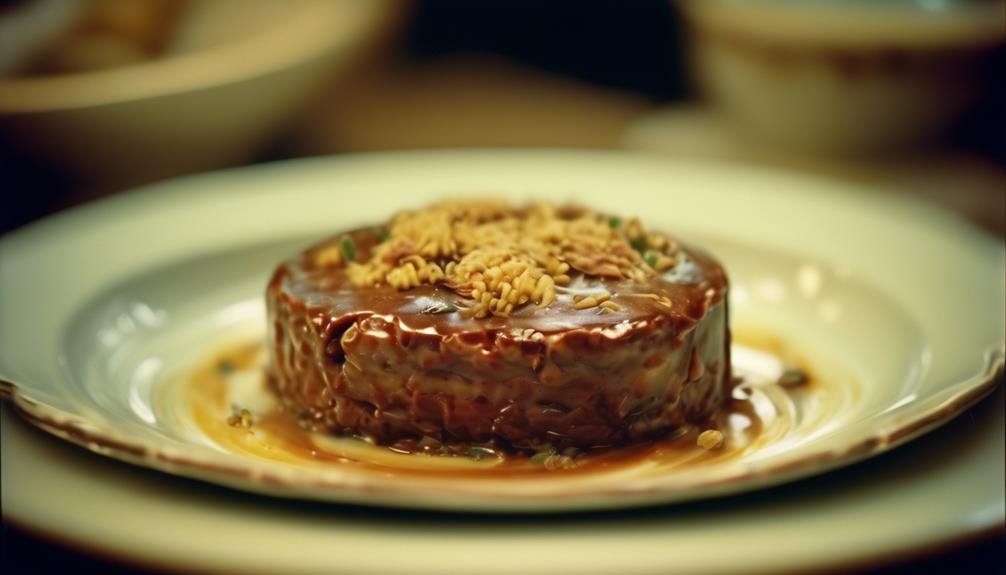
Let's explore how to effectively utilize depth of field to elevate the visual impact of your food photography with compact cameras. Depth of field refers to the range of distance in an image where objects appear acceptably sharp. To create a visually stunning food photograph, consider using the bokeh effect, which is achieved by keeping the subject in sharp focus while blurring the background. This draws the viewer's attention to the main subject, making it pop and creating a professional-looking image.
To achieve this effect, adjust the aperture settings on your compact camera. A lower f-stop (wider aperture) such as f/2.8 will create a shallower depth of field, resulting in a more pronounced bokeh effect. Experiment with different aperture settings to find the perfect balance between sharpness and background blur. Additionally, consider the distance between the camera, the subject, and the background to further enhance the bokeh effect.
Food Styling and Props
Enhancing the visual appeal of your food photography can be achieved through strategic food styling and the thoughtful incorporation of props. When it comes to food presentation, the way you style your dishes and the props you choose can greatly impact the overall look and feel of your photos. Here are three key elements to consider for effective food styling and prop incorporation:
- Color and Texture: Experiment with different colored plates, napkins, and backgrounds to complement the colors of your dish. Consider the textures of the props as well, such as rustic wooden boards for a cozy, homemade feel or sleek, modern dishes for a more refined look.
- Composition and Arrangement: Pay attention to the arrangement of your food and props on the table. Utilize the principles of symmetry, asymmetry, and negative space to create visually appealing compositions. Play around with different angles and perspectives to find the most captivating setup.
- Context and Storytelling: Props can help set the scene and tell a story. Consider the overall table setting – the cutlery, glassware, and any additional elements that can add context to the image and evoke a particular mood or atmosphere.
Careful consideration of food styling and prop selection can elevate your food photography, making it more engaging and visually striking.
White Balance and Color
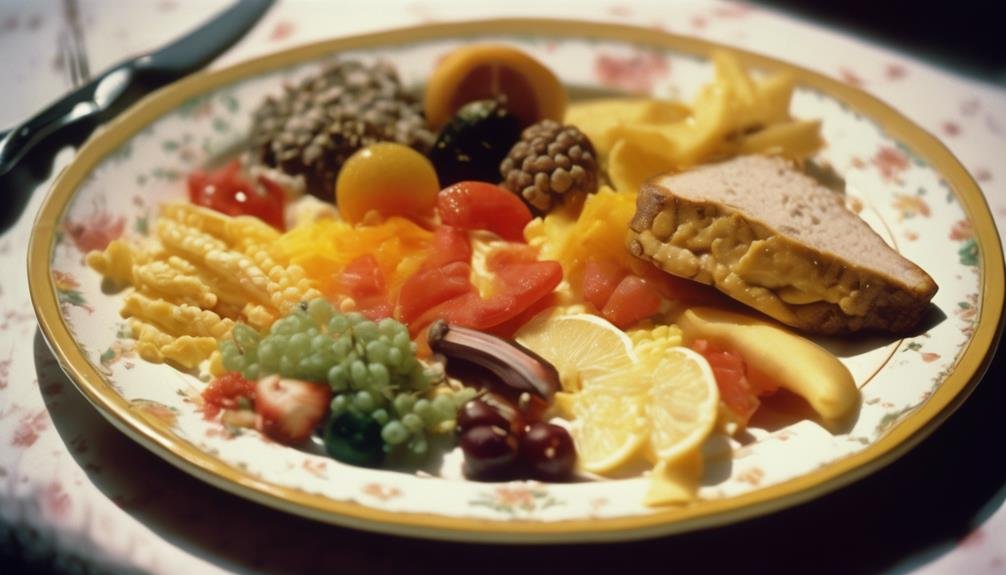
When it comes to food photography, getting the white balance right is crucial for capturing the true colors of the dish. Adjusting the color settings on your compact camera can make a significant difference in the vibrancy and accuracy of the food's appearance. Understanding how to manipulate these settings will help ensure that your photos accurately represent the deliciousness of the dish.
White Balance Importance
Adjusting the white balance setting on your compact camera is crucial for capturing accurate and natural colors in your food photos. The color temperature of light can greatly affect the overall look of your images, and having the correct white balance ensures that the colors in your food appear true to life. Here's why white balance is important:
- Color Temperature: Understanding the color temperature of different light sources will help you choose the appropriate white balance setting for your photos. Daylight, fluorescent, and incandescent lighting all have different color temperatures that can impact the overall look of your images.
- Accurate Color Representation: Proper white balance ensures that the colors of your food subjects are accurately represented, allowing the viewer to see the dish as it would appear in person.
- Color Correction: White balance adjustments can also be used creatively for color correction, allowing you to enhance the vibrancy and appeal of your food photography.
Adjusting Color Settings
To capture the best possible food photos with your compact camera, understanding and adjusting the color settings, including white balance and color, is essential for achieving accurate and appealing results. Color temperature plays a significant role in food photography. Adjusting the white balance based on the lighting conditions can make a remarkable difference in the final image. For example, using the "warm" white balance setting for indoor shots under incandescent lighting can enhance the cozy and inviting feel of the food. Similarly, paying attention to saturation levels is crucial. You want your food to look vibrant and appetizing, so adjusting the color saturation can make the colors pop without appearing unnatural. Experimenting with different color settings and finding the right balance will elevate the visual appeal of your food photos, making them more enticing and captivating.
Close-up Shots
Getting up close and personal with your subject can add depth and detail to your food photography, allowing the viewer to truly appreciate the textures and intricacies of the dish. When it comes to close-up shots, there are a few key techniques to keep in mind that will help you capture stunning images that highlight the beauty of your food.
- Utilize Macro Photography: Experiment with the macro mode on your compact camera to capture extreme close-up shots. This mode allows you to focus sharply on small details, such as the glistening droplets of a freshly washed fruit or the delicate sprinkling of powdered sugar on a dessert.
- Adjust Focal Length: Play around with the focal length settings to achieve the desired level of magnification. By adjusting the focal length, you can control the framing of your close-up shots, ensuring that the most important elements of your dish are prominently featured.
- Explore Different Angles: Don't be afraid to explore different angles when taking close-up shots. Get down to the level of the food or shoot from above to find the most visually appealing perspective that showcases the textures and colors in an innovative way.
Angle and Perspective
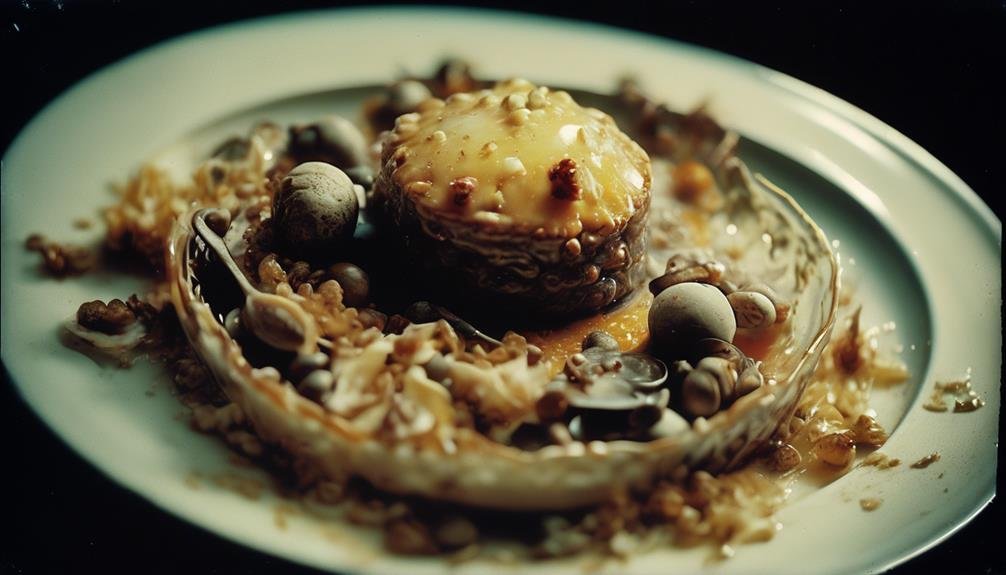
Exploring different angles and perspectives can elevate the visual impact of your close-up food shots, adding an intriguing dimension to your photography. When shooting in low light, it's essential to consider the use of wide angle perspectives to capture the entire scene while maintaining sharpness and clarity. Creative angles, such as shooting from the level of the table or getting close to the food, can bring a fresh and unique look to your photos. Overhead shots offer a captivating way to showcase the layout and details of the dish, especially for flat lay compositions.
Consider the following table for a quick reference guide to angles and perspectives:
| Angle/Perspective | Description |
|---|---|
| Low Light | Use a wide aperture and slower shutter speed to capture the ambiance. |
| Wide Angle Perspectives | Incorporate the surroundings to provide context and depth to the image. |
| Creative Angles | Experiment with unconventional angles to add visual interest to your shots. |
| Overhead Shots | Great for capturing the layout and design of the dish from a unique viewpoint. |
Editing and Post-Processing
When it comes to editing and post-processing food photos taken with compact cameras, a few key adjustments can significantly enhance the visual appeal and overall quality of the images. Here are some essential tips for editing and post-processing food photography:
- Editing Basics: Start by adjusting the brightness, contrast, and color balance to ensure that the food looks as appetizing in the photo as it does in person. Use basic editing tools such as cropping and straightening to improve composition and remove any distracting elements from the frame.
- Photo Retouching: Pay attention to small details like removing crumbs, sauce smudges, or any imperfections on the plate or table. This can be done using the healing brush or clone stamp tools to clean up the image and present the food in its most appealing form.
- Post Processing Tips: Experiment with different filters and presets to enhance the mood and vibrancy of the food. Adjust the sharpness and clarity to make the textures and details of the dish stand out, creating a more enticing visual experience for the viewer.
Tips for Smartphone Integration
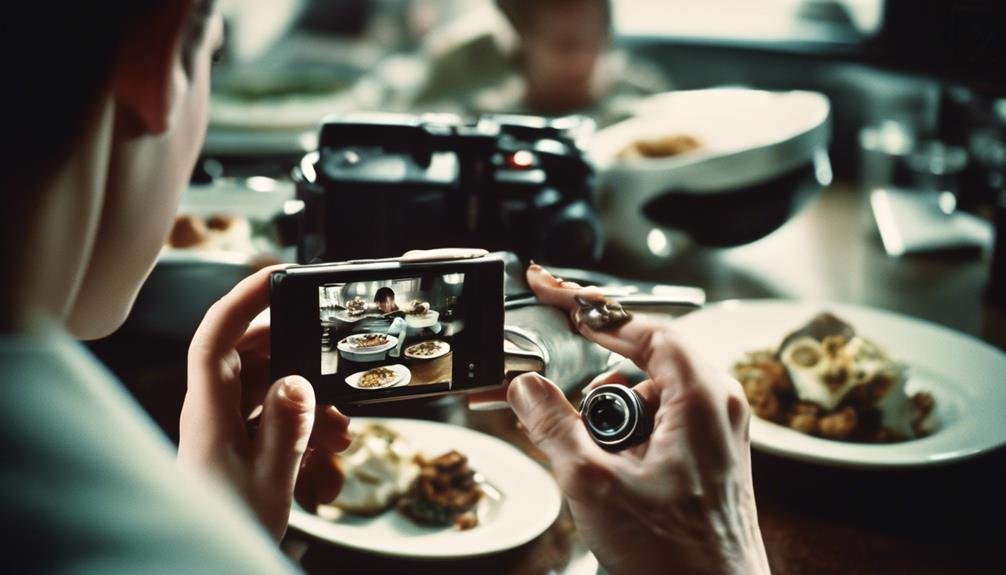
After enhancing the visual appeal and overall quality of food photos through editing and post-processing, integrating smartphone photography techniques can further elevate the art of capturing delectable dishes. Smartphone editing apps such as Adobe Lightroom and Snapseed offer powerful tools for refining and perfecting food photos on the go. These apps allow for adjustments to exposure, color balance, and sharpness, ensuring that your food photos look their best before sharing them on social media platforms. When it comes to social media sharing, smartphones are the perfect tool for instantly uploading and connecting with your audience. Utilizing smartphone features such as portrait mode or depth effect can add a professional touch to your food photography, making dishes stand out even more. Additionally, taking advantage of natural light and utilizing smartphone accessories like clip-on lenses can further enhance the quality of your food photos. With the convenience and advanced capabilities of smartphones, integrating these techniques into your food photography arsenal can significantly elevate your culinary creations on social media.
Frequently Asked Questions
How Can I Ensure That My Compact Camera Captures the True Colors of the Food I Am Photographing?
We ensure color accuracy in food photography with compact cameras by making white balance adjustments. It's crucial for capturing the true colors of the food. Adjusting the white balance setting helps achieve accurate and vibrant food hues in our photos.
Are There Any Specific Techniques for Capturing the Texture and Details of Food With a Compact Camera?
Capturing textures in food photography with compact cameras requires strategic lighting techniques. Experiment with natural light and diffusers to enhance details. Adjust angles and focus to highlight the desired textures and create visually compelling images.
What Are Some Creative Ways to Incorporate Natural Elements Into Food Photography With a Compact Camera?
Incorporating foliage and natural light can elevate food photography with a compact camera. We love experimenting with placing fresh herbs or flowers around dishes to add color and texture. Natural light enhances the vibrancy of the ingredients.
Can You Provide Tips for Capturing Dynamic and Visually Appealing Food Photos in Low Light Settings With a Compact Camera?
In low light photography, we use food styling techniques like strategic placement of candles or small LED lights to create ambiance and enhance the visual appeal. Experimenting with angles and adjusting camera settings also helps capture stunning photos.
Are There Any Specific Settings or Features on Compact Cameras That Can Enhance the Overall Quality of Food Photographs?
When it comes to compact camera settings, we always look for options that enhance food photography. Utilize manual mode for full control over exposure and aperture. Experiment with white balance and ISO to optimize lighting techniques.
