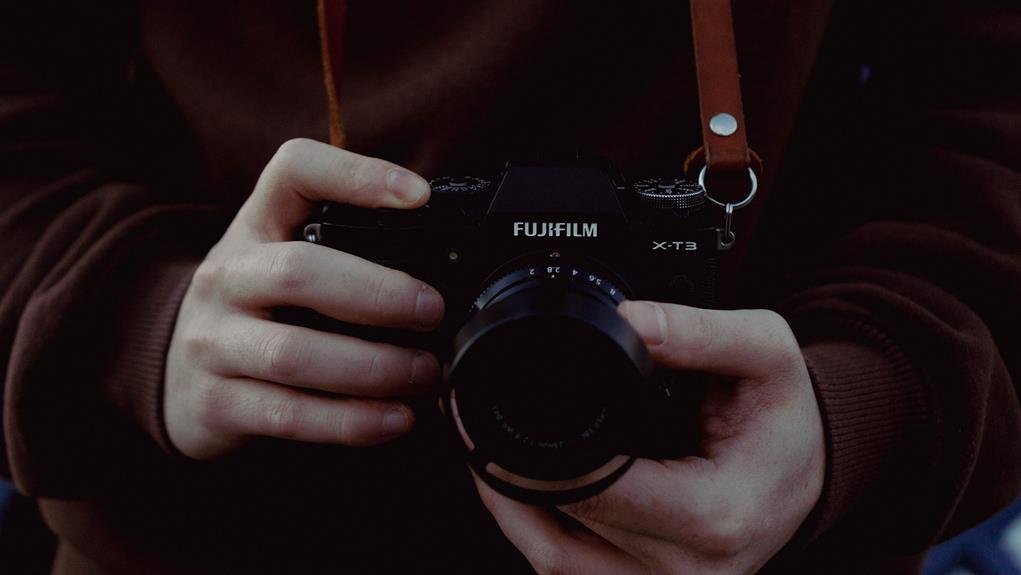
In the dimly lit streets of a bustling city or the hushed tranquility of a starlit night, capturing the perfect low-light shot with a mirrorless camera can be a challenging yet immensely rewarding endeavor. As photographers, we've all faced the frustration of grainy, poorly exposed images in low-light conditions. But fear not, for we have uncovered the 9 best tips to elevate your mirrorless low-light photography game. From the nuanced art of manual focus to the strategic use of post-processing tools, these expert insights are sure to transform your nocturnal captures. So, let's shed light on the secrets to mastering this captivating niche of photography.
Utilize Fast Prime Lenses
When shooting in low-light conditions, it's essential to utilize fast prime lenses to maximize light gathering and achieve sharp, high-quality images. Lens selection plays a crucial role in low light techniques, and fast prime lenses, with their wide apertures, are ideal for such conditions. These lenses allow more light to reach the camera sensor, enabling faster shutter speeds and reducing the risk of blurry images due to camera shake or subject movement. Additionally, the wider apertures produce a shallow depth of field, creating beautiful background blur and isolating the subject effectively, which is particularly advantageous in low-light scenarios.
Fast prime lenses, such as the 50mm f/1.8 or 35mm f/1.4, are popular choices for low-light photography due to their ability to perform exceptionally well in challenging lighting conditions. Their superior light-gathering capability makes them valuable tools for capturing stunning images in dimly lit environments. When considering lens selection for low light techniques, fast prime lenses are a go-to option for photographers seeking innovation and exceptional image quality.
Master Your Camera's ISO Settings
Mastering your camera's ISO settings is essential for achieving optimal exposure in low-light photography. ISO determines your camera sensor's sensitivity to light. In low light, a higher ISO can brighten the image, but it may introduce digital noise. Conversely, a lower ISO reduces noise but requires longer exposure times. Finding the right balance is crucial for capturing high-quality low-light photos. To master ISO settings, consider these low light techniques:
| ISO Setting | Effect | Best Use |
|---|---|---|
| Low (e.g. 100) | Less sensitivity to light, minimal noise | Bright environments or when using a tripod |
| Medium (e.g. 400) | Moderate sensitivity, slight increase in noise | Indoors with some natural light or dusk/dawn photography |
| High (e.g. 1600) | High sensitivity, noticeable increase in noise | Dimly lit indoor settings or night photography |
Embrace the Benefits of Image Stabilization
We can appreciate the advantages of image stabilization, especially in low-light photography, where it helps to minimize the impact of camera shake and allows for sharper, more stable images. When shooting in low light, stabilization techniques play a crucial role in capturing clear and sharp photos. Image stabilization benefits are evident when using handheld shots in dimly lit environments, as it helps to counteract the natural hand movements that can lead to blurry images. Additionally, for those who prefer to shoot low light video techniques without a tripod, the image stabilization feature in mirrorless cameras becomes even more valuable. It provides a viable solution for capturing smooth and steady footage in challenging lighting conditions. For photographers who seek tripod alternatives, image stabilization technology allows for greater flexibility and mobility without sacrificing image quality. Embracing the benefits of image stabilization opens up new creative possibilities for low-light photography and videography, making it an essential tool for capturing stunning visuals in challenging lighting situations.
Experiment With Manual Focus Techniques
After embracing the benefits of image stabilization for low-light photography, one can now explore the effectiveness of manual focus techniques in capturing clear and precise images. When shooting in low-light conditions, experimenting with manual focus allows us to have more control over the depth of field, resulting in stunning bokeh effects. By manually adjusting the focus, we can ensure that the intended subject is sharp while the background is beautifully blurred, creating a captivating and professional-looking image.
To achieve optimal results with manual focus in low-light settings, it's essential to understand the concept of depth of field. By manipulating the focus ring, we can control the area in front of and behind the subject that appears sharp, effectively emphasizing the subject and creating a visually appealing image. Additionally, by mastering manual focus techniques, we can enhance the bokeh effects, producing a pleasing background blur that adds a sense of depth and artistry to our low-light photographs. Experimenting with manual focus not only expands our creative possibilities but also allows us to capture compelling and unique images in challenging lighting conditions.
Understand the Impact of Noise Reduction
When shooting in low light with a mirrorless camera, understanding noise reduction is crucial for getting the best results. We'll cover the basics of noise reduction, how to adjust noise reduction settings, and the importance of finding the right balance between noise reduction and preserving detail in your images. By mastering noise reduction, you can ensure your low-light photos are crisp and free of distracting noise.
Noise Reduction Basics
Understanding the impact of noise reduction is essential for achieving high-quality low-light photographs with a mirrorless camera. When it comes to noise reduction basics, it's crucial to grasp how different techniques and software can affect the final image. Here's what you need to know:
- Noise Reduction Software: Experiment with various noise reduction software to find the one that best suits your style and workflow.
- Advanced Techniques: Explore advanced noise reduction techniques such as selective noise reduction, which allows you to target specific areas of the image.
- Low Light Composition: Pay attention to your composition in low-light conditions to minimize the need for aggressive noise reduction in post-processing.
- Creative Approaches: Embrace creative approaches to low-light photography, such as intentionally incorporating noise for artistic effect.
Mastering noise reduction basics empowers you to elevate the quality of your low-light mirrorless photography.
Setting Noise Reduction
Mastering noise reduction basics empowers us to elevate the quality of our low-light mirrorless photography. When it comes to setting noise reduction, it's crucial to understand how different camera settings and adjustments can impact the final image quality. One important aspect to consider is the impact of white balance on noise reduction. Adjusting the white balance can help reduce color noise in low-light conditions. Additionally, exposure compensation plays a significant role in noise reduction. Proper exposure compensation can help in minimizing noise by ensuring the right amount of light reaches the camera sensor. Understanding these factors and how they interact with noise reduction settings is essential for achieving high-quality low-light photographs.
| Factors | Impact on Noise Reduction |
|---|---|
| White balance | Reduces color noise |
| Exposure compensation | Minimizes overall noise |
Balancing Noise and Detail
To achieve high-quality low-light photographs, it is essential to balance noise reduction with preserving important details in the image. Understanding the impact of noise reduction on image quality is crucial for producing exceptional low-light photos. Here are some key points to consider:
- Exposure Control: Adjusting the exposure settings can help in capturing more light, reducing the need for aggressive noise reduction in post-processing.
- Noise Management: Utilize in-camera noise reduction settings to strike a balance between reducing noise and preserving image details.
- Selective Noise Reduction: Apply noise reduction selectively to different parts of the image based on the level of detail required in those areas.
- High ISO Performance: Experiment with different ISO settings to find the optimal balance between exposure and noise levels.
Balancing noise and detail is a delicate process that requires a thoughtful approach to achieve impressive low-light photographs.
Harness the Power of Low-Light Accessories
Let's talk about essential low-light gear and how to use light modifiers to enhance our low-light photography. Accessories like fast prime lenses, external flashes, and LED lights can make a big difference in capturing stunning low-light shots. We'll explore how to make the most of these tools to elevate our low-light photography game.
Essential Low-Light Gear
When shooting in low-light conditions, having the right gear can make all the difference in capturing stunning photos. Here are some essential low-light accessories to consider:
- Low-Light Flash: A low-light flash is crucial for illuminating subjects in dark settings without washing out the natural ambiance. Look for a flash with adjustable intensity to control the amount of light.
- Sturdy Tripod: Tripod stability is key for preventing camera shake and capturing sharp, clear images in low light. Invest in a sturdy, lightweight tripod that is easy to carry and set up quickly.
- Fast Prime Lens: A fast prime lens with a wide aperture (such as f/1.8 or f/1.4) allows more light to enter the camera, making it ideal for low-light photography.
- Remote Shutter Release: A remote shutter release helps minimize camera shake when taking long exposure shots in low light, ensuring sharp and blur-free images.
With these essential low-light gear, photographers can elevate their low-light photography game and capture impressive images in challenging lighting conditions.
Using Light Modifiers
Harness the power of low-light accessories by using light modifiers to enhance the quality of your low-light photography. Light diffusion is a key technique to soften harsh shadows and create a more flattering look. Creative gels offer the opportunity to add color and mood to your images, allowing for artistic expression even in low-light conditions. Experimenting with flash techniques, such as bounce flash and off-camera flash, can further elevate your low-light photography by providing more control over the direction and intensity of the light. Additionally, mastering the balance between flash and ambient lighting is crucial for achieving natural-looking results. By incorporating these light modifiers into your low-light photography arsenal, you can push the boundaries of creativity and capture stunning images in challenging lighting situations.
Explore the Advantages of Electronic Viewfinders
Exploring the advantages of electronic viewfinders enhances the photographer's ability to accurately preview and compose low-light shots in real time. Electronic viewfinder benefits and low light composition techniques go hand in hand, providing crucial assistance when shooting in challenging lighting conditions. Here are some specific ways electronic viewfinders can elevate low-light photography:
- Real-time Exposure Simulation: Electronic viewfinders display a real-time preview of the exposure, allowing photographers to make immediate adjustments to achieve the desired low-light composition without the guesswork.
- Focus Peaking: This feature highlights in-focus areas, particularly useful in low-light settings where achieving sharp focus can be more challenging.
- Low-light Boost Mode: Some electronic viewfinders offer a low-light boost mode, which digitally enhances the visibility of the scene, helping photographers to accurately compose their shots even in dimly lit environments.
- Customizable Display: Electronic viewfinders often allow customization of the display, such as adding grid lines or electronic levels, aiding in precise composition and alignment in low-light conditions.
Employ Exposure Compensation for Precision

To achieve precise low-light compositions, photographers can employ exposure compensation, a technique that enables adjustments to the camera's automatic exposure settings for optimal results. When shooting in low light, exposure compensation allows us to fine-tune the exposure to capture the perfect balance of light and shadow. This is particularly crucial in low light, where the camera's automatic settings may struggle to accurately expose the scene. By using exposure compensation, we can take control of the exposure and ensure that the photographs accurately represent the atmosphere and mood of the low-light environment.
| Exposure Compensation | Effect |
|---|---|
| +1 | Brightens the overall exposure |
| 0 | Maintains the camera's exposure |
| -1 | Darkens the overall exposure |
| -2 | Darkens the exposure further |
Employing exposure compensation in low light can help us overcome the challenges of achieving the right exposure, ensuring that our photographs are precisely illuminated. This precision adjustment is essential for capturing the nuances of low-light scenes and producing stunning, evocative images.
Leverage Post-Processing Tools for Enhancement
We can greatly enhance our low-light photographs by leveraging post-processing tools for refinement and enhancement. When working with low-light images, post-processing becomes crucial to bring out the best in our photos. Here are some techniques we can use to enhance our low-light photographs:
- Enhancing Sharpness: Utilize sharpening tools to bring out the fine details in low-light images. Carefully adjust the sharpening settings to avoid introducing noise, especially in the darker areas of the photo.
- Color Correction Techniques: Low-light images can often suffer from color casts and inconsistencies. Use color correction tools to balance the colors and improve the overall tonal quality of the photograph.
- Noise Reduction: Low-light photography tends to introduce more noise. Leverage noise reduction tools to clean up the image while preserving important details.
- Exposure Adjustment: Fine-tune the exposure of the image to ensure that the low-light areas are properly illuminated without overexposing the brighter areas.
Frequently Asked Questions
What Are Some Common Low-Light Photography Mistakes to Avoid?
We often overlook exposure control, resulting in underexposed photos. By refining shooting techniques and utilizing noise reduction, we can avoid common mistakes. Understanding our mirrorless camera's capabilities in low-light settings is essential for capturing stunning images.
How Can I Effectively Use Artificial Lighting in Low-Light Photography?
We've learned that artificial lighting techniques are crucial for overcoming low light photography challenges. Experimenting with different light sources, adjusting the intensity and angle, and using modifiers can help create stunning low-light photos with a mirrorless camera.
What Are Some Creative Composition Techniques for Low-Light Photography?
We love exploring creative framing and unique angles in low-light photography. Experimenting with unconventional compositions and utilizing leading lines can add depth and intrigue to your shots. Embrace the challenge and let your creativity shine.
How Can I Maintain Image Sharpness in Low-Light Conditions?
To maintain image sharpness in low-light conditions, we focus on using advanced focus techniques and noise reduction. Additionally, we carefully select lenses and employ effective stabilization methods to ensure optimal results in challenging lighting situations.
What Are the Best Settings for Capturing Starry Night Sky Photos With a Mirrorless Camera?
For night photography with a mirrorless camera, we use long exposures, high ISO, and wide apertures. We also recommend manual focus, a sturdy tripod, and a remote shutter release for astrophotography techniques.
