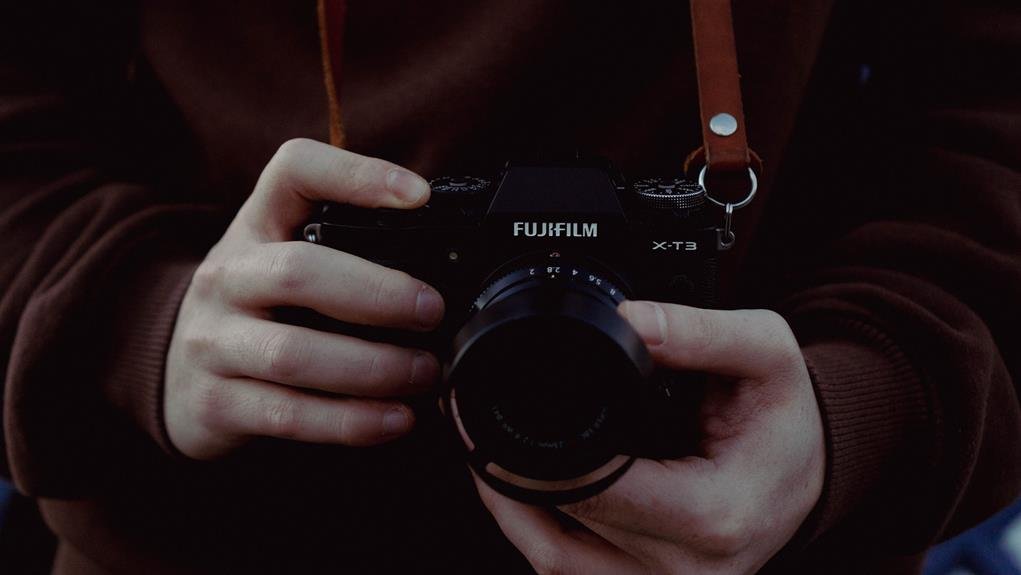
In the dimly lit corners of a bustling city or the tranquil glow of a sunset, capturing the perfect low light photograph with a mirrorless camera can be both a thrilling challenge and a rewarding accomplishment. Whether you're an amateur enthusiast or a seasoned pro, navigating the nuances of low light photography with a mirrorless camera requires a delicate balance of technical finesse and creative ingenuity. With our 12 expert tips, we'll unravel the mysteries of low light photography, unveiling the secrets to capturing stunning images in challenging lighting conditions. So, if you're ready to elevate your low light photography game and unlock the full potential of your mirrorless camera, then let's embark on this enlightening journey together.
Use a Wide Aperture
When shooting in low light conditions, using a wide aperture allows more light to enter the camera, enabling us to capture clear and detailed images without the need for excessive artificial lighting. This technique is especially useful for low light portraits, where we want to capture the subject with minimal disturbance from harsh lighting. By widening the aperture, we can create a beautiful bokeh effect, where the background is beautifully blurred, making the subject stand out more crisply. This effect adds a professional and artistic touch to our low light portraits, elevating the overall quality of the image. Additionally, using a wide aperture allows us to maintain faster shutter speeds, reducing the chances of blurriness caused by camera shake or subject movement. In essence, the wide aperture not only enhances the amount of light captured, but also offers creative opportunities to produce stunning low light portraits with a captivating bokeh effect.
Experiment With High ISO Settings
When shooting in low light conditions, experimenting with high ISO settings can significantly impact the quality of our photographs. We'll discuss how ISO affects the amount of noise in our images, the trade-off between exposure and grain, and how to find the balance between image quality and brightness. Understanding these points will help us make informed decisions when adjusting our camera's ISO settings for low light photography.
ISO and Noise
Experimenting with high ISO settings can be a game-changer for low light photography, allowing for clearer and more detailed shots in challenging lighting conditions. Understanding noise reduction is crucial when managing high ISO. Choosing the right lens can also significantly impact the balance of noise in your low light images. When dealing with high ISO settings, it's essential to consider the trade-off between increased sensitivity and the potential for noise. Modern mirrorless cameras often handle higher ISO settings admirably, but noise can still be a concern. To minimize noise, consider using prime lenses with wider apertures, allowing more light into the camera and reducing the need for extremely high ISO settings. Experimenting with different ISO settings and lens options will help you find the perfect balance for stunning low light photography.
Exposure and Grain
Understanding noise reduction is crucial when managing high ISO, and when it comes to exposure and grain, experimenting with high ISO settings can be a game-changer for low light photography. Here are some practical tips for harnessing the power of high ISO settings:
- Noise Reduction Tools: Utilize in-camera noise reduction settings or post-processing software to minimize the grain and maintain image quality.
- Exposure Control: Adjust the exposure compensation to ensure proper exposure while using high ISO settings, preventing overexposure or underexposure.
- Balancing Act: Find the balance between high ISO and acceptable noise levels for your specific camera model, as different cameras handle noise differently.
Quality Vs. Brightness
To capture high-quality, low-light images, photographers can enhance the brightness by experimenting with high ISO settings. Increasing the ISO allows the camera to capture more light, brightening the overall image. However, it's important to find a balance between brightness and image quality. While higher ISO settings can introduce more noise, modern mirrorless cameras handle noise better than ever before. Experimenting with different ISO levels in low-light conditions allows photographers to find the optimal balance between brightness and image quality. Additionally, utilizing brightness control and color temperature adjustment in post-processing can further enhance the quality of low-light images. By understanding how to leverage high ISO settings effectively and making adjustments in post-processing, photographers can achieve remarkable low-light images without compromising on quality.
Utilize Image Stabilization
When shooting in low light conditions, we all know how challenging it can be to capture sharp, clear images. That's where image stabilization comes in. By stabilizing camera movement, we can reduce the likelihood of blurry images and enhance our low light performance. These tips can make a real difference in the quality of our low light photography.
Stabilizing Camera Movement
Consider utilizing the image stabilization feature on your camera to minimize the impact of camera movement when shooting in low light conditions. This technology compensates for small camera shakes, allowing you to capture sharper images even in challenging lighting situations. To further stabilize your camera movement, consider the following strategies:
- Use a Tripod: A tripod provides a stable base for your camera, reducing the risk of movement during long exposures in low light.
- Employ Proper Posture: Maintain a stable stance and grip on your camera to minimize unintentional movement.
- Explore Stabilized Lenses: Some lenses come with built-in stabilization, which can further enhance your ability to capture clear, low light shots.
Reducing Blurry Images
After stabilizing camera movement using image stabilization features, it's essential to focus on reducing blurry images when shooting in low light conditions. When it comes to lens selection, opt for lenses with a wider aperture, such as f/2.8 or lower, to allow more light in and improve sharpness. Additionally, investing in lenses with optical image stabilization can greatly reduce the risk of blurry images caused by shaky hands in low light. Post-processing techniques like noise reduction can also enhance the overall sharpness of the image, minimizing the appearance of graininess often associated with low light photography. Here's a comparison table to help you understand the importance of each factor:
| Factor | Impact |
|---|---|
| Lens Selection | Wider aperture for more light and sharpness |
| Optical Image Stabilization | Minimizes blurry images due to shaky hands |
| Post Processing | Noise reduction for improved overall sharpness |
Enhancing Low Light Performance
To enhance low light performance, we can utilize image stabilization to minimize the impact of camera shake and capture sharper images. Image stabilization technology compensates for handheld movements, enabling us to shoot in lower light conditions without sacrificing image quality. Here are three ways image stabilization can enhance low light photography:
- Reduction of Camera Shake: Image stabilization reduces the blur caused by small movements, allowing for sharper images in low light situations.
- Improved Noise Reduction: By stabilizing the camera, image stabilization helps reduce noise in low light images, resulting in cleaner and crisper photos.
- Utilizing Challenging Lighting Techniques: With image stabilization, photographers can experiment with challenging lighting techniques such as long exposures or capturing movement in low light environments, opening up new creative possibilities.
Employ a Fast Prime Lens
Using a fast prime lens can significantly improve low light photography by allowing more light to reach the camera sensor, resulting in clearer and sharper images. When shooting in low light conditions, lens selection is crucial, and a fast prime lens with a wide maximum aperture is a game-changer. Prime lenses with apertures like f/1.8 or wider are ideal for low light photography as they can gather more light, allowing for faster shutter speeds and lower ISO settings. This not only helps in capturing well-exposed images but also reduces the risk of motion blur and digital noise.
The beauty of employing a fast prime lens in low light situations lies in its ability to provide greater control over depth of field and aperture settings. This allows photographers to create stunning low light images with beautifully blurred backgrounds and pinpoint sharp subjects. Additionally, the wider aperture of prime lenses enables them to perform exceptionally well in challenging lighting conditions, making them a valuable asset for any photographer looking to push the boundaries of low light photography.
Understand Your Camera's Low Light Performance
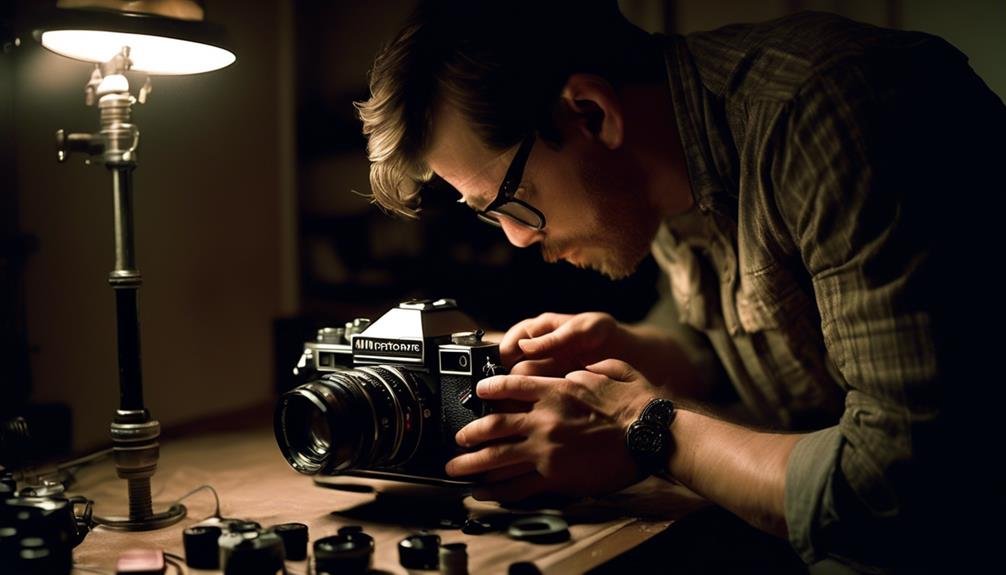
Understanding your camera's low light performance is crucial for capturing high-quality images in challenging lighting conditions. To optimize your camera's performance in low light, consider the following:
- Camera Settings: Familiarize yourself with your camera's manual mode to have greater control over settings like aperture, shutter speed, and ISO. Adjusting these settings allows you to maximize the available light and minimize noise in your low light photos.
- Noise Reduction: Explore your camera's noise reduction capabilities and settings. Some cameras offer in-camera noise reduction features that can significantly improve image quality in low light conditions. Additionally, post-processing software can further reduce noise in your photos.
- Low Light Techniques and Creative Lighting: Experiment with different low light photography techniques such as long exposures, light painting, and using available ambient light creatively. Understanding how to manipulate light in low light situations can lead to stunning and unique photographs. Additionally, consider investing in portable LED lights or external flashes to enhance your creative lighting options.
Embrace Long Exposure Techniques
Embracing long exposure techniques allows photographers to capture mesmerizing images in low light conditions, creating stunning visual effects and conveying a sense of motion and time. When it comes to low light photography, long exposure opens up a world of creative possibilities. One popular application is light painting, where the camera's shutter is left open for an extended period while the photographer uses light sources to "paint" in the scene. This technique can produce magical and surreal images, making it a favorite among innovative photographers.
Additionally, long exposure is essential for astrophotography techniques. By using long exposure, photographers can capture the mesmerizing movement of stars across the night sky, creating breathtaking celestial photographs. This technique can also reveal intricate details of the Milky Way or the elusive northern lights, allowing photographers to produce awe-inspiring images that showcase the wonders of the universe.
Embracing long exposure techniques empowers photographers to push the boundaries of creativity and produce truly captivating low light photographs. Whether it's experimenting with light painting or delving into the mysteries of the night sky, long exposure opens up a world of innovation and visual storytelling.
Consider Using a Tripod
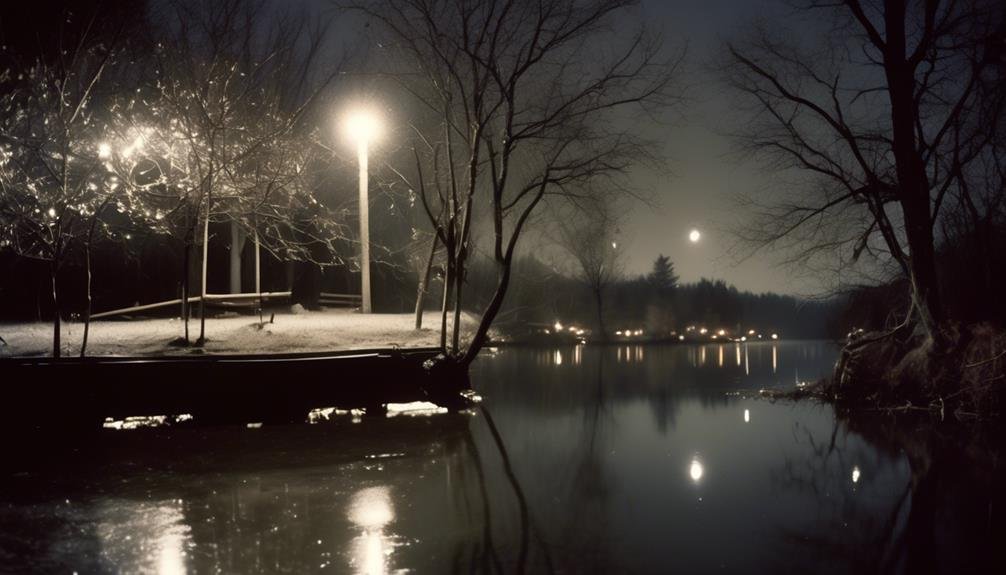
Considering the use of a tripod can greatly enhance the stability and sharpness of low light photographs, providing a solid foundation for capturing stunning images in challenging lighting conditions. When shooting in low light, the stability offered by a tripod can make a significant difference in the quality of your photos. Here are some reasons why you should consider using a tripod:
- Tripod stability: A tripod provides a stable platform, reducing camera shake and allowing for longer exposures without compromising image sharpness. This is crucial in low light situations where even the slightest movement can result in blurry photos.
- Flexibility for long exposures: Using a tripod opens up opportunities to experiment with longer exposure times, enabling you to capture the ambient light in a scene more effectively. This can result in breathtaking images with enhanced details and smooth, flowing effects.
- Tripod alternatives: In situations where carrying a traditional tripod is impractical, consider using alternatives such as tabletop tripods or bean bags to stabilize your camera. These compact options can still provide the stability needed for low light photography while offering greater portability.
Take Advantage of Focus Peaking
To enhance the sharpness and accuracy of your low light photographs, consider utilizing the focus peaking feature on your mirrorless camera to achieve precise focus in challenging lighting conditions. Focus peaking is an invaluable tool that highlights the areas in focus, allowing you to nail the perfect focus even in low light situations. This feature works by outlining the in-focus areas with a colored overlay, providing a visual guide to ensure that your subject is razor-sharp.
When shooting in low light, managing depth of field becomes crucial. The focus peaking feature helps to address this challenge by allowing you to visually gauge the areas in focus, ensuring that your intended subject is sharp while also managing the depth of field. By incorporating focusing techniques such as manual focus with focus peaking, you can take full control of the focus, resulting in stunning low light images with the perfect balance of sharpness and depth of field.
Innovative focusing tools like focus peaking empower photographers to conquer low light conditions with confidence. By mastering the use of focus peaking, you can elevate the quality of your low light photography and capture striking images with impeccable focus and depth of field.
Master Manual Exposure Settings
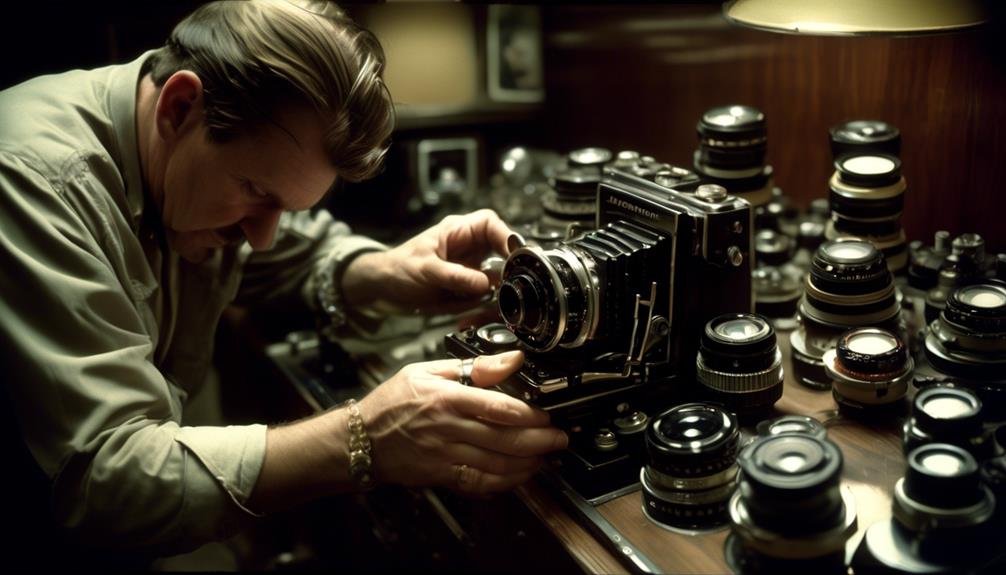
Now, let's talk about mastering manual exposure settings. Understanding ISO settings, adjusting aperture and shutter speed, and utilizing exposure compensation are key components of taking control of your camera's manual exposure mode. These three elements work together to help you achieve the perfect exposure in low light conditions, giving you the flexibility and precision needed to capture stunning images. Let's dive into each of these points and explore how they can elevate your low light photography game.
Understand ISO Settings
Understanding ISO settings is essential for mastering manual exposure settings in low light photography. The ISO setting controls your camera's sensitivity to light. Here are three key points to consider when understanding ISO settings:
- Noise Reduction: Higher ISO settings can introduce digital noise, affecting image quality. Understanding the balance between ISO and noise reduction is crucial for capturing clear, low light photos.
- Mastering Low Light Techniques: A higher ISO allows for faster shutter speeds in low light conditions, reducing the risk of blurry images. Mastering ISO settings empowers photographers to capture sharp, well-exposed photos in challenging lighting scenarios.
- Creative Control: By understanding ISO settings, photographers can creatively manipulate light and shadow, achieving unique and innovative low light photography results.
Adjust Aperture and Shutter
Adjusting the aperture and shutter speed allows photographers to take full control of their camera's exposure settings, enabling us to capture stunning low light photographs with precision and creativity. By adjusting the aperture, we can control the depth of field, determining how much of the scene is in focus, which is crucial for creating impactful low light images. Additionally, mastering the shutter speed allows us to experiment with long exposures, capturing the subtle details and ambient light in low light environments. With the right combination of aperture and shutter settings, we can unleash our creativity and produce breathtaking low light photographs that stand out. Understanding how these manual exposure settings work together empowers us to push the boundaries of low light photography and produce innovative, visually striking images.
Use Exposure Compensation
Mastering manual exposure settings, such as exposure compensation, empowers photographers to refine their control over the camera's exposure, enabling us to capture stunning low light photographs with precision and creativity. When using exposure compensation for low light photography, it's essential to understand metering to accurately assess the scene's lighting. Additionally, adjusting the white balance ensures natural color reproduction in challenging lighting conditions. Composition techniques play a crucial role in low light photography, as they help to create visually compelling images with balanced exposure. By mastering the exposure triangle—aperture, shutter speed, and ISO—photographers can effectively utilize exposure compensation to achieve desired low light effects. Incorporating night photography techniques further enhances the ability to capture captivating low light scenes with the desired mood and atmosphere.
Leverage Noise Reduction Tools
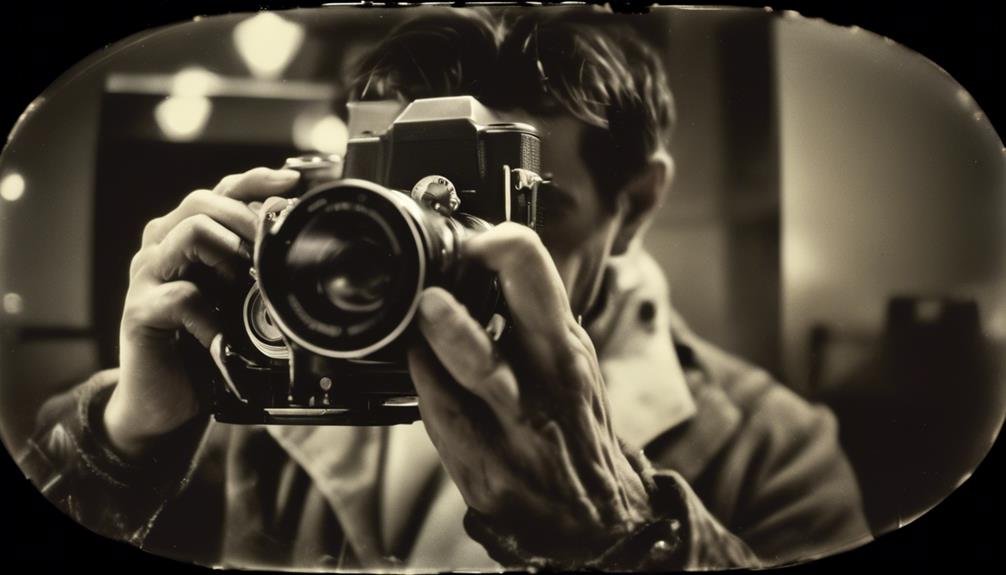
To capture clear, low-light images, consider utilizing noise reduction tools to minimize visual disturbances and maintain image quality. When shooting in low light conditions, noise can often become a problem, affecting the overall quality of the image. Utilizing software noise reduction and post-processing techniques can significantly enhance the final result, ensuring that your low-light photos are sharp, detailed, and free from distracting visual noise.
| Pros | Cons |
|---|---|
| Reduces noise | Loss of detail |
| Maintains quality | Increased processing time |
| Improves color balance | Potential for over-smoothing |
Explore Creative Lighting Techniques
Exploring creative lighting techniques adds depth and visual interest to low-light photography, allowing for unique and captivating images. To elevate your low-light photography skills, consider the following creative lighting techniques:
- Light Painting: Experiment with light painting to add a touch of magic to your low-light shots. By using handheld lights or flashlights, you can create stunning visual effects and add a sense of drama to your images. Try painting with light to highlight specific elements in the scene or to trace intriguing patterns for a mesmerizing result.
- Softbox and Diffused Lighting: Utilize a softbox or diffused lighting to achieve gentle, even illumination in low-light settings. These tools help to distribute light evenly, reducing harsh shadows and creating a soft, natural look. By using a softbox or diffused lighting, you can effectively enhance the subject while maintaining a balanced and pleasing aesthetic.
- Innovative Techniques: Embrace unconventional and innovative lighting techniques to push the boundaries of low-light photography. Experiment with colored gels, unconventional light sources, or experimental setups to create visually striking and original compositions. By exploring unique lighting methods, you can unlock endless creative possibilities and produce extraordinary low-light photographs.
Practice and Patience for Low Light Mastery
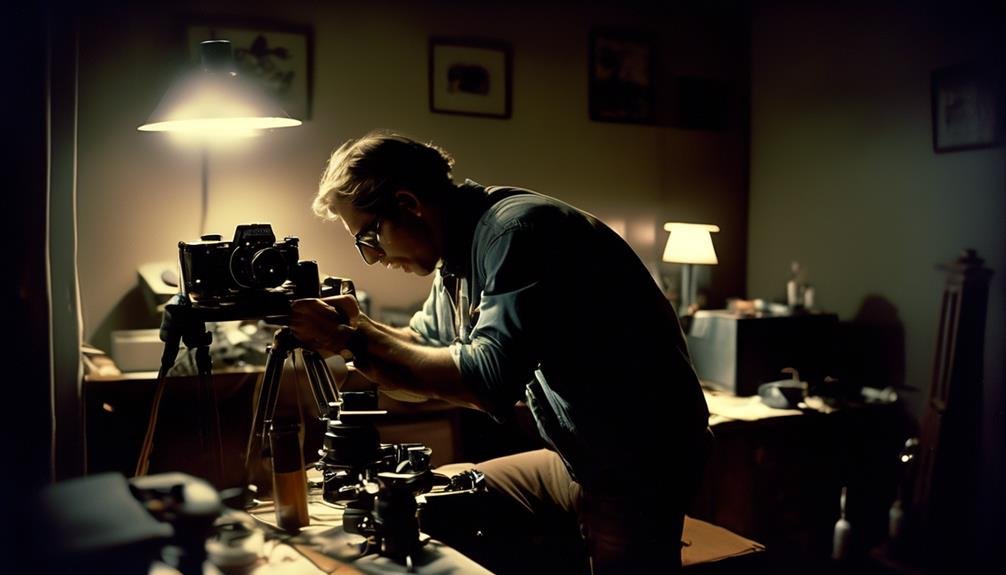
As we continue to refine our low-light photography skills by experimenting with creative lighting techniques, the key to mastering this art form lies in consistent practice and patience. Low light composition and framing techniques require dedication and perseverance. Patience is essential when working in low light situations, as it often takes time to find the perfect balance of light and shadow. Through regular practice, we can develop an intuitive sense of how to utilize available light sources and create stunning compositions in challenging lighting conditions.
To master low light photography, we must be willing to invest the time and effort needed to familiarize ourselves with the nuances of working in low light. This means actively seeking out opportunities to practice and refine our skills, whether it's capturing the soft glow of a candlelit scene or the ambient light of a city street at night. Each opportunity to shoot in low light presents a chance to experiment with different techniques and learn from the results. With patience and persistence, we can elevate our low light photography to new heights, mastering the art of capturing captivating images in even the most challenging lighting conditions.
Frequently Asked Questions
What Are the Best Mirrorless Cameras for Low Light Photography?
We found the best mirrorless cameras for low light photography by comparing their low light performance and lens selection. Our top pick delivers stunning results in challenging lighting conditions, making it a game-changer for night photography.
How Can I Minimize Noise in My Low Light Photos Without Using Noise Reduction Tools?
To minimize noise in low light photos without noise reduction tools, we adjust exposure techniques. By optimizing ISO, aperture, and shutter speed, we capture clearer, crisper images. This approach helps us achieve better results in challenging lighting conditions.
Are There Any Specific Settings or Techniques I Should Use When Photographing Moving Subjects in Low Light?
When photographing moving subjects in low light, we adjust shutter speed techniques to capture the action without blur. For low light movement, using a higher ISO and wider aperture helps maintain faster shutter speeds for crisp shots.
How Can I Ensure Sharp Focus When Using Long Exposure Techniques in Low Light?
To ensure sharp focus with long exposure in low light, we adjust our composition to include strong foreground elements. By carefully aligning the focus between the foreground and background, we capture stunning, well-defined images.
What Are the Best Ways to Incorporate Ambient Light Into My Low Light Photography?
We can enhance low light photography by using reflectors to bounce ambient light onto our subjects, creating dynamic and natural-looking results. Understanding white balance helps us capture accurate colors in different low light situations.
