When it comes to capturing stunning photos with a compact camera, we all know that having the right lighting can make all the difference. But with so many flash setups out there, it can be overwhelming to figure out which one is best for your needs. From on-camera flashes with TTL support to creative multi-flash brackets, there are countless options to explore. So, how do you know which setup will take your photography to the next level? Well, that's exactly what we're here to uncover. Whether you're a seasoned photographer or just starting out, we've got you covered with 12 pro flash setups tailored for your compact camera.
On-Camera Flash With TTL Support
When using an on-camera flash with TTL support, it's essential to understand its capabilities and how to maximize its effectiveness for your photography. Creative lighting can truly elevate your photos, and understanding flash techniques is crucial for achieving this. With TTL support, the flash can automatically adjust its power output based on the camera's metering system, making it easier to achieve well-exposed images in various lighting conditions.
One of the key flash techniques when using on-camera flash with TTL support is to experiment with bounce flash. By directing the flash towards a ceiling or a wall, you can create softer, more diffused light that reduces harsh shadows and produces a more natural look. This technique is especially useful for indoor photography, where the available light may not be sufficient for capturing the desired image quality.
Another creative lighting approach is to use the flash to fill in shadows when photographing subjects outdoors. This can help balance the exposure and prevent the subject from appearing too dark against a bright background. Understanding these flash techniques and TTL support can greatly enhance your photography, allowing you to capture stunning images in a variety of conditions.
Off-Camera Flash With Wireless Trigger
Using an off-camera flash with a wireless trigger opens up a world of creative lighting possibilities for photographers. By separating the flash from the camera, various off-camera flash techniques can be utilized to achieve stunning and professional-looking results. The wireless trigger compatibility allows for flexibility in positioning the flash, enabling unique and creative applications such as side lighting, backlighting, and off-axis lighting.
| Off-Camera Flash Techniques | Creative Applications |
|---|---|
| Side Lighting | Emphasizing texture and depth in the subject |
| Backlighting | Creating dramatic silhouettes and highlights |
| Off-Axis Lighting | Producing dynamic and sculpted lighting effects |
When considering wireless trigger options, there are budget-friendly choices available for photographers looking to expand their lighting setup. Many third-party wireless triggers offer reliable performance at a fraction of the cost of high-end models, making it accessible for photographers at any level to experiment with off-camera flash setups.
Incorporating off-camera flash with a wireless trigger not only enhances the quality of lighting in photography but also provides an avenue for photographers to explore and innovate with their creative vision.
High-Speed Sync Flash Setup
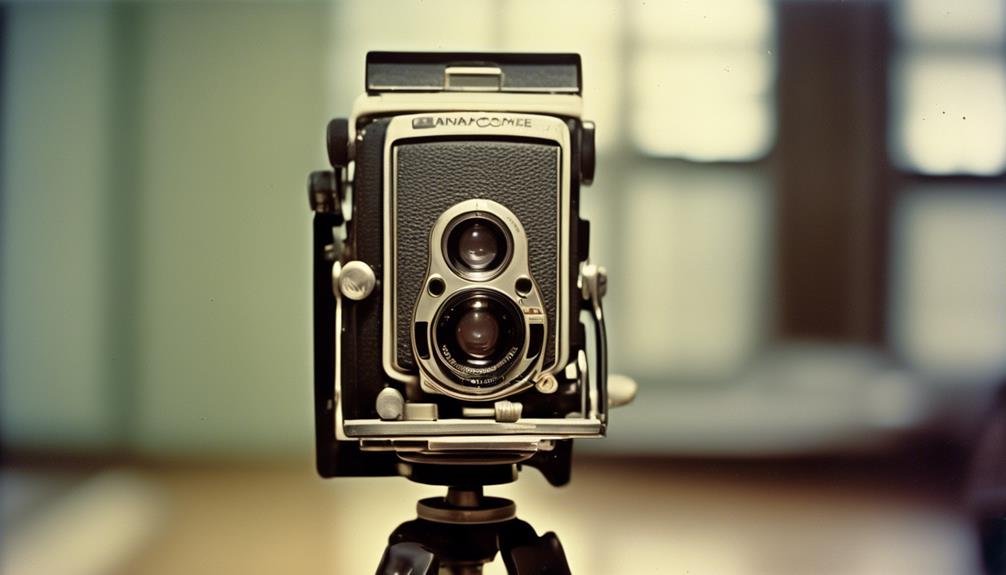
Alright, folks, let's talk high-speed sync flash setup. We'll cover the essential gear needed and share some technique tips to help you nail those high-speed shots. Get ready to take your compact camera flash game to the next level!
Gear Needed
To achieve a high-speed sync flash setup, the essential gear includes a compatible flash unit, a camera that supports high-speed sync, and a reliable wireless trigger system. When it comes to compact camera flash compatibility, it's crucial to ensure that your flash unit is specifically designed to work with compact cameras and supports high-speed sync. While some compact cameras have built-in flashes, they often lack high-speed sync capabilities, making it necessary to invest in an external flash unit. Additionally, for those seeking gear alternatives for compact camera flash setups, there are wireless trigger systems available that offer high-speed sync functionality and can be easily paired with compatible flash units and cameras. These alternatives provide flexibility and convenience for achieving professional lighting effects with compact cameras.
Technique Tips
When setting up a high-speed sync flash technique with compact cameras, mastering the appropriate lighting angles is crucial for achieving professional results. To ensure a successful high-speed sync flash setup, consider the following technique tips:
- Flash exposure: Adjust the flash output to achieve the desired exposure, ensuring that the subject is well-lit without overexposure.
- Light direction: Experiment with different angles to create depth and dimension in your photographs. Consider the impact of front, side, and back lighting on the subject.
- Shutter speed control: Utilize high-speed sync to achieve sharp images even in bright conditions, allowing for the use of wider apertures.
- Reflectors and diffusers: Use these tools to manipulate and soften the light, achieving a more natural and flattering look.
Mastering these technique tips will elevate your photography and allow for stunning results with your compact camera's high-speed sync flash setup.
Studio Strobe and Softbox Combo
Using a studio strobe and softbox combo can significantly enhance the lighting capabilities of your compact camera setup. When setting up your studio strobe and softbox, pay close attention to the positioning of the softbox. Place it at a 45-degree angle to the subject to create soft, even lighting that minimizes harsh shadows. Experiment with different distances and angles to achieve the desired effect for your specific shooting situation. Additionally, adjusting the power of the strobe is crucial for achieving the right exposure. Start with a low power setting and gradually increase it until you reach the desired level of brightness. This allows for precise control over the lighting and helps avoid overexposure. Remember to consider the reflective surfaces in your shooting environment as they can affect the overall lighting. By mastering softbox positioning and strobe power adjustments, you can elevate the quality of your compact camera photography and achieve professional-looking results in your studio setups.
Portable LED Panel for Video and Stills
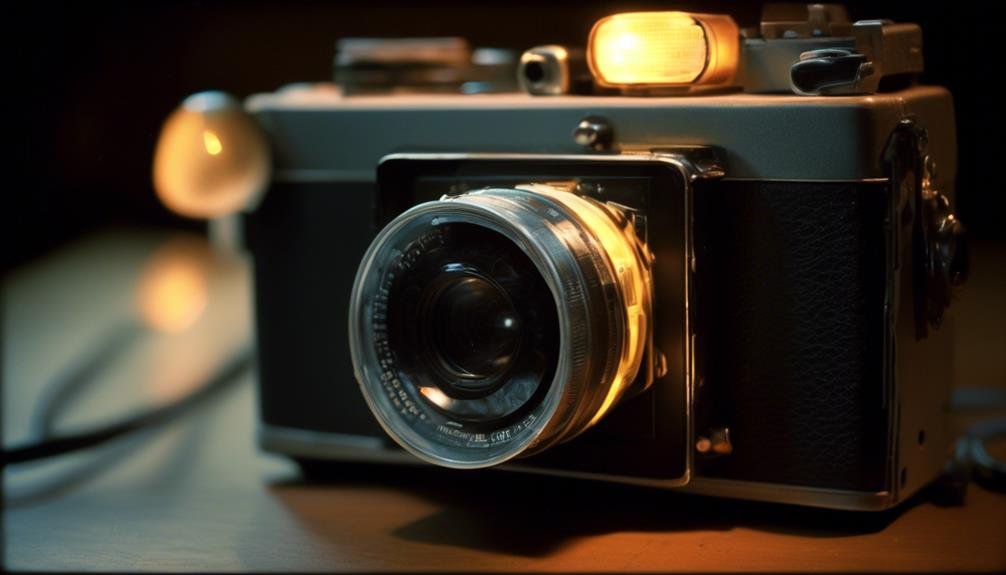
For optimal versatility in lighting your compact camera setups, consider incorporating a portable LED panel designed for both video and still photography. These panels offer a range of benefits, making them a valuable addition to your gear. Here are some key features to consider:
- Adjustable Lighting Temperature: Portable LED panels allow you to easily adjust the color temperature of the light, giving you control over the mood and ambiance of your photos and videos. This flexibility is especially useful when shooting in different environments and lighting conditions.
- High Power Output: Despite their compact size, modern LED panels can deliver impressive power output, ensuring sufficient illumination for your shots. This is particularly important when working in low-light settings or needing to balance out natural light.
- Portability and Convenience: Unlike traditional lighting setups, LED panels are lightweight and easy to transport, making them ideal for on-the-go shooting. Their portability and battery-powered options make them convenient for outdoor and remote locations.
- Versatile Usage: These panels are designed to cater to both video and still photography needs, providing a multipurpose lighting solution for a wide range of creative projects.
With their adjustable lighting temperature, high power output, portability, and versatile usage, portable LED panels are a practical and innovative lighting solution for compact camera setups.
Ring Flash for Macro Photography
Portable LED panels are a versatile lighting solution for compact camera setups, and now let's turn our focus to the application of ring flash for macro photography. When it comes to capturing stunning close-up shots, the ring flash offers unique benefits. Its circular design produces even, shadow-free lighting, perfect for illuminating small subjects from all angles. This eliminates harsh shadows and brings out intricate details, essential for macro photography techniques.
One of the key advantages of using a ring flash for macro photography is the ability to achieve a balanced and uniform light distribution, resulting in captivating images with enhanced depth and texture. The ring flash also helps to freeze motion, making it ideal for capturing the intricate details of small, often moving subjects. Additionally, its compact and lightweight design makes it a portable and convenient option for on-the-go photographers.
Grid and Gel Modifier Kit
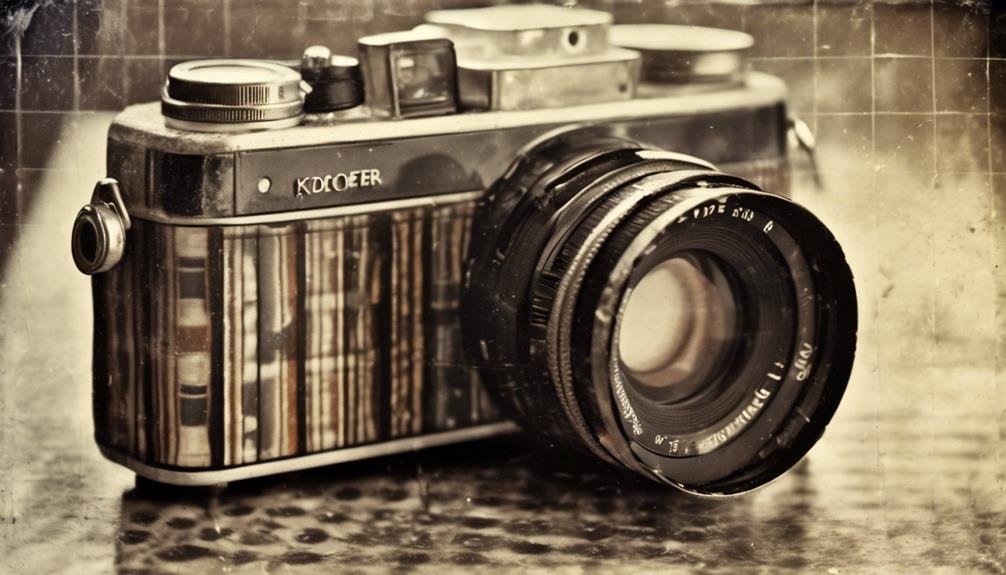
The Grid and Gel Modifier Kit enhances the versatility of compact camera setups by offering a range of creative lighting possibilities for photographers. This kit includes grids and gels that attach to the flash, allowing for precise control over the direction and quality of light. Here are four ways this kit can elevate your photography:
- Controlled Light Spill: The grid modifier helps to direct the light exactly where you want it, preventing unwanted spill and creating a more focused, dramatic effect.
- Color Temperature Adjustment: With the included gels, you can modify the color temperature of the light to match ambient lighting conditions or to add creative color effects to your images.
- Creative Effects: Experiment with different colored gels to add a unique and artistic flair to your photos, whether it's a subtle hint of color or a bold, eye-catching effect.
- Light Diffusion: The kit also includes diffusion gels which can soften and spread the light, perfect for achieving flattering portraits or even lighting for macro photography.
With the Grid and Gel Modifier Kit, photographers have the tools to achieve precise control over color temperature and light diffusion, opening up a world of creative possibilities for their compact camera setups.
Beauty Dish and Reflector Setup
Enhancing the versatility of compact camera setups, the Beauty Dish and Reflector Setup offers photographers a powerful combination for achieving professional lighting results. This setup is a game-changer when it comes to controlling lighting angles and maximizing flash power. By using a beauty dish, photographers can achieve soft, even lighting that wraps around the subject, creating a flattering and natural look. When combined with a reflector, the setup allows for the manipulation of light and shadow, giving photographers full control over the mood and atmosphere of the photograph.
| Beauty Dish and Reflector Setup | ||
|---|---|---|
| Advantages | Considerations | Best Use |
| Soft, even lighting | Requires more space | Portrait photography |
| Control over light and shadow | Additional setup time | Fashion photography |
| Versatile and professional results | Requires practice for mastery | Beauty and product photography |
| Flattering, natural look | Additional cost | Still life photography |
The beauty dish and reflector setup is a must-have for photographers seeking to elevate their work with dynamic and professional lighting. Whether capturing portraits, fashion, beauty, or still life, this setup offers unparalleled control and versatility.
Multi-Flash Bracket for Creative Lighting
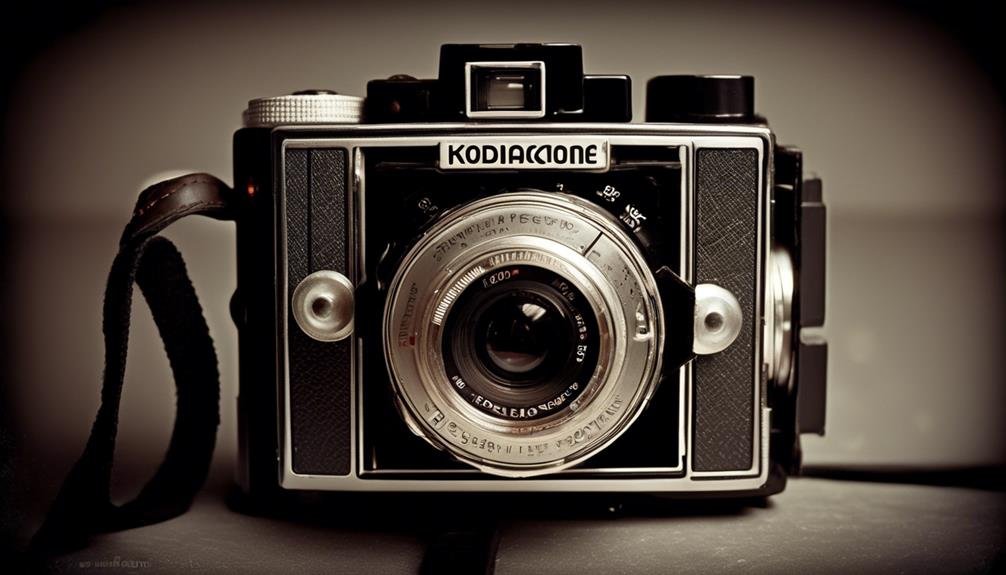
With the Multi-Flash Bracket for Creative Lighting, photographers can achieve dynamic and versatile lighting setups to enhance their images. This innovative tool allows for endless creative composition and lighting techniques, elevating the quality of photographs. Here are some key benefits and tips for using a multi-flash bracket:
- Enhanced Depth and Dimension: By positioning multiple flashes at different angles, photographers can create depth and dimension in their images, bringing subjects to life in a way that natural light alone cannot achieve.
- Creative Shadows and Highlights: Utilizing multiple flashes enables photographers to experiment with creating unique shadows and highlights, adding drama and intrigue to their compositions.
- Versatile Light Control: The multi-flash bracket provides the flexibility to control and manipulate light in various ways, allowing for precise and customized lighting effects to suit different subjects and scenes.
- Innovative Special Effects: With the ability to synchronize multiple flashes, photographers can explore and create innovative special effects, pushing the boundaries of traditional photography to produce captivating and visually stunning images.
Investing in a multi-flash bracket opens up a world of possibilities for photographers, empowering them to take their creative vision to new heights through advanced lighting techniques.
Flash Extender for Long-Distance Shots
After exploring the creative possibilities of the multi-flash bracket, we now turn our attention to the practical advantages of utilizing a flash extender for achieving optimal lighting in long-distance shots. When it comes to outdoor photography, especially in wildlife photography, capturing subjects at a distance often requires a powerful and focused light source. A flash extender is a valuable tool that significantly extends the reach of your camera's flash, allowing you to illuminate subjects that are farther away without sacrificing light intensity. This is particularly useful when photographing shy or nocturnal creatures, where getting physically closer is not an option.
| Flash Extender Benefits | Description |
|---|---|
| Extended Reach | Increases the effective distance of the flash, ideal for long-distance photography. |
| Intense Illumination | Maintains strong light intensity even at extended distances. |
| Versatile Application | Useful for wildlife, sports, and outdoor events where long-distance flash is crucial. |
| Enhanced Image Quality | Ensures well-lit subjects and balanced exposure in long-distance shots. |
Underwater Strobe System for Diving
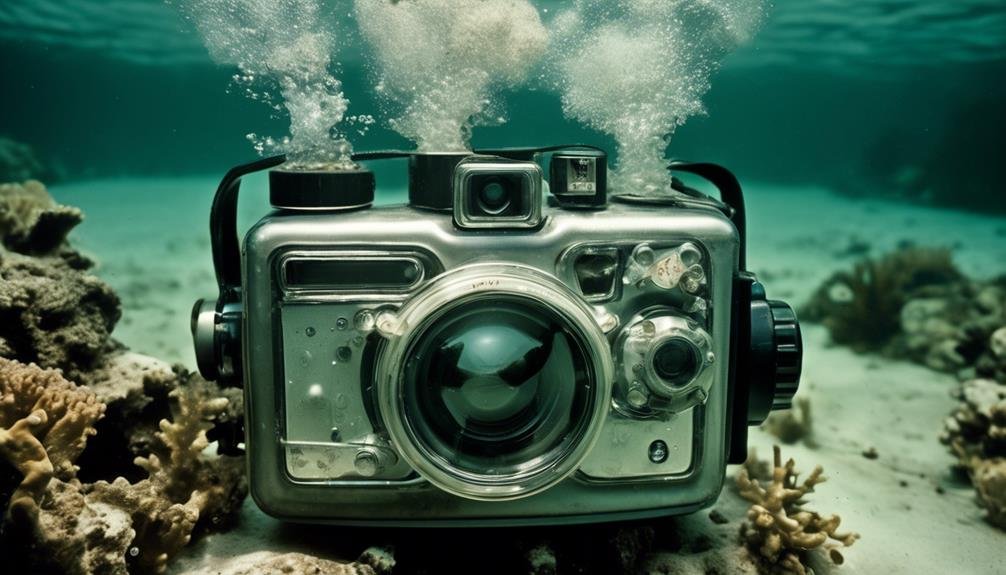
Exploring the depths of the ocean while capturing stunning underwater scenes often requires the use of an efficient and reliable underwater strobe system for optimal lighting. When it comes to underwater photography techniques, lighting options are crucial for achieving vibrant and captivating images. Here are some essential tips for utilizing an underwater strobe system:
- Strobe Positioning: Proper placement of the strobe is essential to avoid backscatter and evenly illuminate the subject. Experiment with different positions to find the optimal placement for your specific diving conditions.
- Angle Adjustments: Adjusting the angle of the strobe can significantly impact the quality of your underwater shots. Be mindful of the angle to prevent harsh shadows and overexposed areas, especially when photographing reflective surfaces.
- Syncing with Ambient Light: Understanding how to balance the strobe light with ambient light is key to achieving natural-looking underwater photographs. This skill can greatly enhance the overall composition of your images.
- Multiple Strobe Setups: For advanced photographers, consider using multiple strobes to create more dynamic lighting effects and eliminate shadows in challenging underwater environments.
Mastering these underwater strobe techniques can elevate your underwater photography, allowing you to capture the mesmerizing beauty of the underwater world with unparalleled clarity and vibrancy.
Custom DIY Flash Accessories
Let's talk about some custom DIY flash accessories that can take our compact camera photography to the next level. We'll explore how to create DIY diffusers for flash, the benefits of using flash gels and filters, and the practicality of using reflective bounce cards. These accessories can help us manipulate light in various ways to achieve professional-looking results without breaking the bank.
DIY Diffusers for Flash
Creating your own DIY diffusers for your compact camera's flash can significantly improve the quality of your photos in various lighting conditions. Here are some homemade diffuser options and creative flash modifiers to enhance your photography:
- White Plastic Milk Jug: Cut out a piece of the milk jug and place it over the flash to soften the light.
- Tissue Paper: Attach a layer of tissue paper over the flash with a rubber band for a softening effect.
- White Balloon: Stretch a white balloon over the flash and secure it in place for a diffused light.
- Foam Cup: Cut a foam cup and place it over the flash to create a gentle, diffused light source.
These DIY diffusers are cost-effective and can greatly improve the lighting in your photos, allowing for more professional-looking results.
Flash Gels and Filters
Improving the quality of your photos with homemade diffusers from the previous subtopic, we now turn our attention to custom DIY flash accessories such as flash gels and filters. Flash gels are transparent colored sheets that can be placed over the flash to adjust the color temperature of the light, allowing for creative effects and accurate color reproduction. On the other hand, filters can be used for light diffusion, softening harsh shadows and reducing contrast for a more flattering look. Here's a simple table to guide you through the basics of flash gels and filters:
| Type | Function | Examples |
|---|---|---|
| Flash Gels | Adjust color temperature | CTO, CTB, ND |
| Filters | Light diffusion | Soft, Diffusion |
| Customization | Creative effects | Color mixing |
Custom DIY flash accessories like these can significantly enhance the versatility and quality of your compact camera's flash setup.
Reflective Bounce Cards
Using reflective bounce cards is a simple yet effective way to enhance the lighting and improve the quality of your compact camera's flash setup. Here are some tips for creating and using DIY bounce cards:
- Materials: Look for reflective materials like white foam board, silver poster board, or even aluminum foil to create your bounce card.
- Size and Shape: Experiment with different sizes and shapes to find the bounce card that works best for your specific shooting needs.
- Angle Adjustment: Try adjusting the angle of the bounce card to control the direction and intensity of the bounced light.
- Natural Light Techniques: Incorporate bounce cards into your natural light photography to fill in shadows and create a more balanced, flattering light.
DIY bounce cards offer a cost-effective way to enhance your flash photography and can be a valuable addition to your photography toolkit.
Frequently Asked Questions
What Are Some Common Mistakes to Avoid When Using Off-Camera Flash With a Wireless Trigger?
When using off-camera flash with a wireless trigger, common mistakes include mismanaging flash settings and not accounting for natural light. It's crucial to understand your equipment and environment to achieve optimal results.
How Can I Achieve a Natural-Looking Light With a Studio Strobe and Softbox Combo?
We achieve natural lighting using a studio strobe and softbox combo by adjusting the strobe's power output and softbox positioning. For outdoor photography, consider using a reflector as a softbox alternative to mimic natural light.
What Are the Best Situations to Use a Portable LED Panel for Video and Stills?
We've found that a portable LED panel is perfect for indoor events like weddings, providing consistent and natural light. For outdoor portraits and landscapes, it offers versatility and ease of use, making it an ideal choice for on-the-go lighting needs.
Can a Ring Flash Be Used for Subjects Other Than Macro Photography?
Absolutely, a ring flash can definitely be used for subjects other than macro photography. For portrait photography, it provides unique and creative lighting, ideal for capturing striking outdoor photography with a distinct and captivating look.
How Do I Choose the Right Grid and Gel Modifier for My Specific Shooting Needs?
When choosing a modifier, consider the specific lighting techniques needed for your shot. Experiment with different grids and gels to achieve the desired effect. It's amazing how a simple modifier can transform your photography.
