Let's face it – capturing stunning images with a mirrorless camera is just the beginning of the creative process. As photographers, we're constantly seeking ways to enhance our photos and bring out their full potential. That's where post-processing comes in. Whether you're a seasoned pro or just starting out, mastering the art of post-processing can truly elevate your photography game. From color correction to creative filter techniques, there's a whole world of possibilities waiting to be explored. So, if you're ready to take your mirrorless photos to the next level, buckle up because we're about to uncover the 9 best post-processing tips that will transform your images from great to absolutely breathtaking.
Color Correction and White Balance
When editing mirrorless photos, it's crucial to pay attention to color correction and white balance to ensure accurate and natural-looking colors. To achieve this, employing effective color grading techniques is essential. One method is to use the RGB curves to adjust individual color channels, allowing for precise control over the overall color balance. Another technique involves utilizing color wheels to fine-tune the shadows, midtones, and highlights independently, ensuring a well-balanced and cohesive color palette.
Temperature adjustment methods also play a pivotal role in achieving the desired color accuracy. By adjusting the temperature and tint sliders, photographers can correct any unwanted color casts caused by varying light sources. Moreover, incorporating the use of color calibration tools can further enhance the accuracy of color representation in mirrorless photos.
Understanding these color correction and white balance principles not only ensures that the images appear true to life but also allows for creative expression through the manipulation of color tones. By mastering these techniques, photographers can elevate their post-processing skills and deliver visually captivating mirrorless photos.
Exposure Adjustment Techniques
When it comes to post-processing our mirrorless photos, exposure adjustment techniques play a crucial role in refining the overall image. We'll be covering white balance correction, as well as highlight and shadow adjustments, to help bring out the best in our photos. These techniques are essential for achieving the ideal exposure levels and ensuring that our images truly stand out.
White Balance Correction
After capturing mirrorless photos, it is important to correct the white balance for accurate color representation and to adjust the exposure to achieve the desired brightness and contrast levels. When it comes to white balance correction, temperature adjustment plays a crucial role. By fine-tuning the temperature, you can enhance the overall mood and atmosphere of your photos. Additionally, utilizing custom presets can streamline the white balance correction process, saving time and ensuring consistency across your photo sets. Custom presets allow you to apply specific white balance settings that align with your desired aesthetic without the need for manual adjustments every time. This not only increases efficiency but also maintains a cohesive look throughout your work. With these techniques, you can achieve the perfect white balance and elevate the visual impact of your mirrorless photos.
Highlight and Shadow Adjustment
Highlight and shadow adjustment in post-processing allows us to enhance the dynamic range and overall visual impact of mirrorless photos. By manipulating highlights, we can bring out intricate details and add depth to the image. This technique can significantly improve the overall quality of a photo by preventing overexposure in bright areas. Similarly, shadow manipulation enables us to reveal hidden details in darker areas, resulting in a more balanced and visually appealing photograph. Color grading and tonal adjustments further refine the image, allowing for creative expression and mood enhancement. When used skillfully, highlight enhancement and shadow manipulation can elevate the storytelling capacity and aesthetic appeal of mirrorless photos, providing photographers with powerful tools to unleash their creativity and produce stunning visual narratives.
Noise Reduction and Sharpening
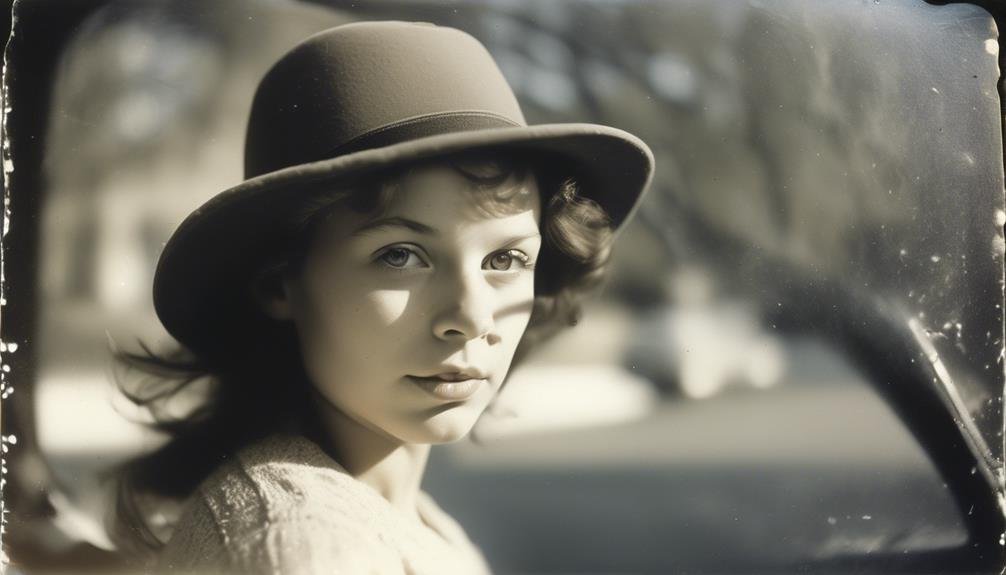
Let's talk about how to tackle noise in our mirrorless photos and how to make our images really sharp. We'll explore some effective noise reduction techniques and share some best practices for sharpening our photos to make them stand out. These tips will help us achieve cleaner, crisper images that truly showcase the potential of our mirrorless cameras.
Noise Reduction Techniques
To achieve optimal image quality, we employ noise reduction techniques such as noise reduction and sharpening to enhance the overall clarity and sharpness of mirrorless photos. When dealing with low light or astrophotography, noise can be more pronounced. In these situations, image stacking can be a powerful noise reduction technique. By combining multiple photos of the same scene, the noise is reduced, resulting in a cleaner final image. Additionally, for long exposure shots, noise reduction in post-processing is crucial. It's important to strike a balance between reducing noise and maintaining fine details. Utilizing advanced noise reduction algorithms tailored to mirrorless sensor characteristics can significantly improve the final image quality. Experimenting with different noise reduction settings and techniques is key to achieving the best results, especially in challenging shooting conditions.
Sharpening Best Practices
When aiming for optimal image sharpness and clarity in mirrorless photos, employing noise reduction techniques is crucial for achieving high-quality results. Sharpening techniques play an equally vital role in enhancing the overall visual impact. Here are some best practices for sharpening mirrorless photos:
- Detail Enhancement: Use sharpening tools to bring out fine details and textures in your photos.
- Selective Sharpening: Apply sharpening selectively to specific areas of the image to maintain a natural look while emphasizing important elements.
- Avoid Over-Sharpening: Be mindful of not overdoing the sharpening process, which can lead to unnatural and unappealing results.
- Iterative Approach: Implement a gradual and iterative sharpening process, periodically zooming in to assess the impact on various image details.
Lens Correction and Distortion Control
Lens correction and distortion control are essential post-processing techniques to improve the quality and accuracy of mirrorless photos. When it comes to distortion correction methods, lens calibration plays a crucial role in ensuring that the images produced are free from any unwanted distortions. Manual lens correction is another effective technique that allows for precise adjustments to correct any distortions caused by the lens. Furthermore, for photographers who use fisheye lenses, fisheye lens correction is vital to rectify the characteristic barrel distortion and produce images with straight lines and accurate proportions.
| Distortion Correction Methods | Description | Benefits |
|---|---|---|
| Lens Calibration | Corrects lens distortions | Improves overall image quality |
| Manual Lens Correction | Allows precise adjustments | Provides fine-tuned corrections |
| Fisheye Lens Correction | Rectifies barrel distortion | Produces accurate, undistorted images |
Creative Use of Filters and Presets
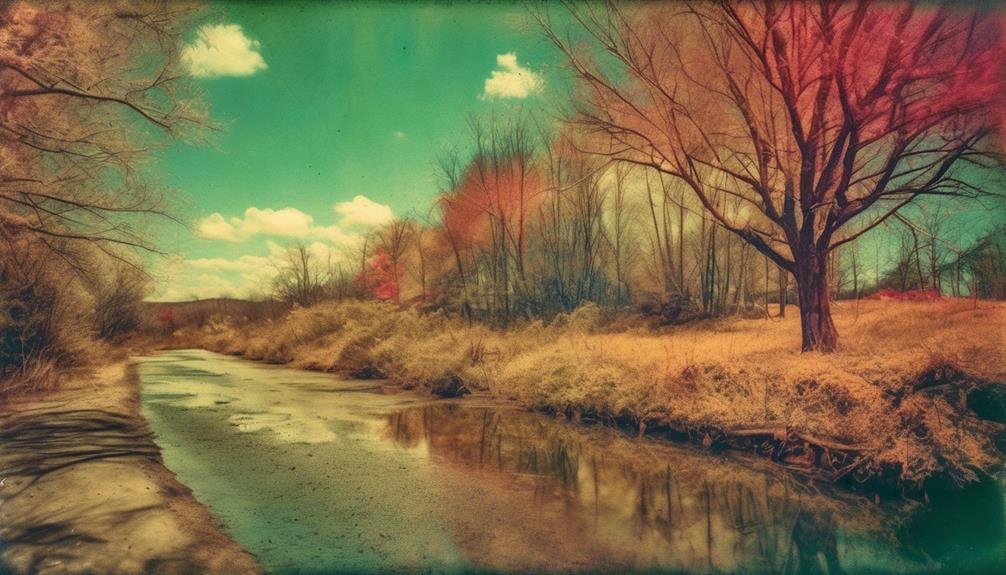
Incorporating creative filters and presets can enhance the visual impact and artistic expression of mirrorless photos. By utilizing these tools, photographers can elevate their images to new heights, adding unique artistic effects and enhancing the overall mood of their photos. Here are four ways to creatively use filters and presets:
- Creative Composition Techniques: Experiment with filters and presets to explore unconventional composition techniques, such as split toning or color grading, to bring out the best in your mirrorless photos.
- Texture Enhancement: Use filters and presets to accentuate textures within your images, adding depth and dimension to your photographs.
- Artistic Effects: Transform your photos with artistic effects like vintage film emulation, cross-processing, or infrared filters to create visually stunning and unique images.
- Mood Enhancement: Adjust the mood of your photos by applying filters and presets that manipulate color, contrast, and light, allowing you to evoke specific emotions and atmospheres.
Incorporating filters and presets into your post-processing workflow can unleash your creativity and elevate the visual storytelling of your mirrorless photos.
Retouching and Skin Smoothing
Exploring the realm of post-processing techniques beyond creative filters and presets, we now turn our attention to the art of retouching and skin smoothing in mirrorless photography. When it comes to enhancing portraits, achieving the perfect skin tone is essential. Portrait retouching allows us to refine and improve the appearance of a subject while still maintaining a natural look. One of the key aspects of retouching is skin smoothing, which involves subtle adjustments to minimize imperfections while preserving the texture and details of the skin.
In the world of mirrorless photography, we are fortunate to have access to advanced editing tools that enable us to achieve seamless skin smoothing. By utilizing techniques such as frequency separation and selective adjustments, we can enhance skin tone and texture with precision. It's important to approach skin smoothing with a light touch, ensuring that the final result looks authentic and not overly processed.
With the evolution of mirrorless technology, the possibilities for portrait retouching have expanded, allowing us to achieve stunning, true-to-life results that elevate the art of photography.
HDR Imaging and Dynamic Range
When capturing high-contrast scenes, achieving optimal detail and tonal range in our mirrorless photos becomes a priority, and this is where the technique of HDR imaging and dynamic range comes into play. High dynamic range (HDR) imaging and dynamic range enhancement techniques such as exposure fusion allow us to capture a wider range of tones, from the deepest shadows to the brightest highlights, resulting in stunning, true-to-life images. Here are some key aspects to consider when using HDR imaging and dynamic range techniques:
- Tone Mapping: Utilize tone mapping to adjust the tonal and color balance in HDR images, ensuring a natural and visually pleasing result.
- Image Blending: Experiment with image blending to combine multiple exposures, bringing out the best details from each exposure for a more balanced and rich final image.
- High Dynamic Range: Understand the concept of high dynamic range and how it can be harnessed to capture a broader range of luminance levels in our mirrorless photos.
- Exposure Fusion: Explore exposure fusion as a method of blending multiple exposures to create a single image with superior dynamic range and detail.
Black and White Conversion Methods
As we continue to enhance the dynamic range and tonal balance of our mirrorless photos, the next step is to master the art of black and white conversion methods. When converting color images to black and white, it's essential to focus on tonal contrast. This involves adjusting the brightness and contrast of different elements in the image to create a visually striking black and white result. Utilizing tools like curves and levels can help manipulate the tonal range to achieve the desired effect. Additionally, grain simulation can be a powerful tool in black and white conversion. By adding a controlled amount of grain, photographers can evoke a sense of nostalgia or enhance the texture and depth of the image. It's important to strike a balance, ensuring that the grain complements the overall aesthetic without overpowering the image. Experimenting with different grain settings can add a unique dimension to black and white photos, elevating them to new artistic heights. Mastering these black and white conversion methods allows us to unlock the full creative potential of our mirrorless photos.
Exporting and File Optimization
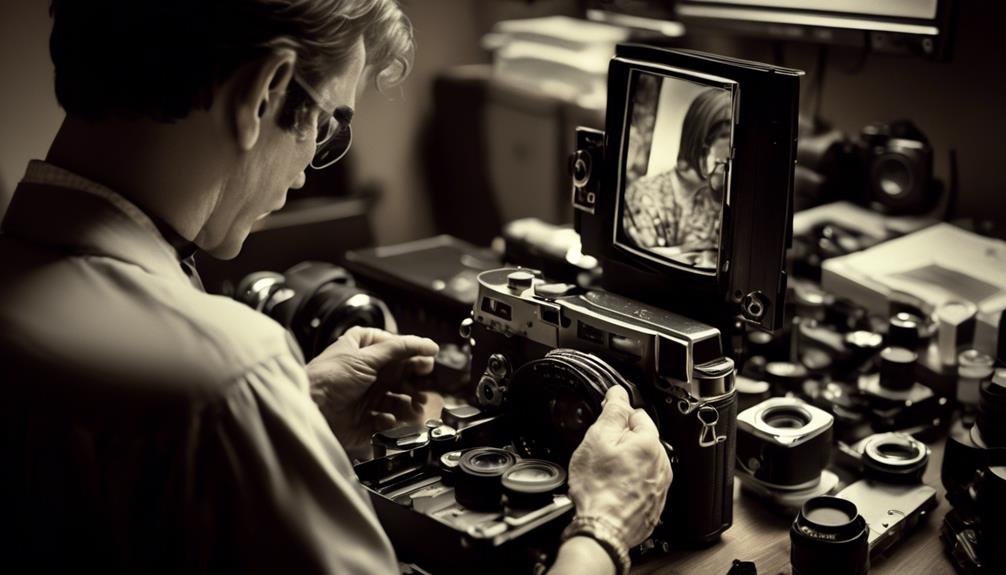
In our pursuit of optimizing our mirrorless photos, we focus on exporting and optimizing our files to ensure the highest quality and compatibility with various platforms and devices. Here are some essential tips for file organization and compression techniques:
- File Naming: Use a consistent and descriptive naming convention to easily identify and manage your files. Incorporating dates or keywords can also aid in efficient organization.
- Folder Structure: Create a logical folder structure to categorize your images based on projects, dates, or themes. This helps in quickly locating specific photos and maintaining a tidy library.
- Compression: Utilize modern compression techniques such as HEIF or WebP to reduce file sizes without compromising image quality. This ensures faster uploads and downloads, as well as efficient storage utilization.
- Export Settings: When exporting your photos, adjust settings such as resolution, format, and color profile according to the intended use. For web display, a lower resolution and optimized format like JPEG may be suitable, while printing may require higher resolution and formats like TIFF.
Frequently Asked Questions
Can You Recommend Any Specific Mirrorless Camera Models That Are Particularly Well-Suited for Post-Processing?
We've found that mirrorless camera features like high-resolution sensors and fast autofocus systems are great for post-processing. When it comes to software, we recommend exploring options like Adobe Lightroom and Capture One for optimizing mirrorless photos.
How Can I Use Post-Processing to Enhance the Depth and Dimension of My Mirrorless Photos?
We enhance details and add dimension to mirrorless photos through creative editing and precise color correction. Our post-processing techniques bring out the full potential of the images, ensuring they captivate and impress viewers.
Are There Any Specific Post-Processing Techniques That Work Best for Landscapes Versus Portraits When Using a Mirrorless Camera?
When it comes to landscape editing, we focus on enhancing colors, sharpening details, and adjusting contrast to bring out the natural beauty. For portrait retouching, we prioritize skin smoothing, eye enhancement, and subtle adjustments to highlight facial features.
What Are Some Advanced Post-Processing Tips for Achieving a Professional-Looking Result With Mirrorless Photos?
When achieving sharpness in mirrorless photos, we use advanced techniques like focus stacking and high-pass sharpening. For color correction, we employ tools like selective color adjustments and luminosity masking to enhance the vibrancy and balance of our images.
How Can I Effectively Incorporate Post-Processing Into My Workflow to Streamline the Editing Process for My Mirrorless Photos?
We've optimized our workflow by using efficient editing software like Lightroom or Capture One. These tools streamline the editing process for our mirrorless photos, allowing us to achieve professional results with precision and speed.
