We've all been there – excited to capture a perfect moment, only to find out that our images turned out blurry. Did you know that camera shake is responsible for around 70% of all blurry photos? In this article, we'll share our top 7 tips for repairing image stabilization in your camera. Whether you're a photography enthusiast or a professional, these tips will help you get the most out of your equipment. So, if you want to ensure sharp, clear images every time you press the shutter button, stick around for some invaluable insights into image stabilization repair.
Understanding Image Stabilization Systems
Understanding how image stabilization systems work can greatly improve our ability to troubleshoot and repair issues with our camera equipment. At the heart of many image stabilization systems are gyroscopes. These devices, used to measure or maintain orientation and angular velocity, are crucial in detecting and compensating for camera shake. When the camera moves, the gyroscope senses this movement and signals the image stabilization system to counteract it, resulting in sharper images. It's important to understand that calibration is key to the proper functioning of these systems. Without accurate calibration, the gyroscopes may not provide the correct information to the image stabilization system, leading to ineffective stabilization. This is why regular calibration is essential to ensure optimal performance. Understanding the intricacies of gyroscopes and the importance of calibration empowers us to diagnose and address issues related to image stabilization more effectively. By grasping these foundational principles, we can not only troubleshoot problems but also appreciate the innovative technology that enables us to capture stunning, shake-free photographs and videos.
Common Issues With Image Stabilization
We've all experienced the frustration of a malfunctioning image stabilization system affecting the quality of our photos. Whether it's blurry images or shaky videos, these issues can really put a damper on our photography or videography. Understanding the common issues with image stabilization is crucial for being able to identify and address these problems effectively.
Malfunctioning Stabilization Systems
Image stabilization systems in cameras can sometimes experience common malfunctions that affect the quality of photographs and videos. When these systems malfunction, it can impact the overall photography experience and lead to frustration for photographers. Here are some common issues with image stabilization:
- Blurry Images: Malfunctioning stabilization systems can result in blurry or shaky images, affecting the overall quality of the photograph.
- Noisy Operation: Some stabilization systems may produce unexpected noises during operation, indicating a potential malfunction.
- Inconsistent Performance: The system may work inconsistently, leading to unpredictable results in different shooting scenarios.
- Overheating: Malfunctioning stabilization systems may cause the camera to overheat, impacting both performance and safety.
- Battery Drain: A malfunctioning stabilization system can lead to increased battery drain, affecting the camera's overall usage time.
Effect on Image Quality
Experiencing a malfunction in the image stabilization system of your camera can significantly impact the quality of your photographs and videos, leading to unwanted blurriness and inconsistencies in image sharpness. The effect on the lens can be substantial, as the stabilization system plays a crucial role in compensating for shaky hands or movement, resulting in clearer and sharper images. When the system malfunctions, it can cause distortions and blurs, affecting the overall visual appeal of the content. Therefore, it's vital to understand the importance of calibration and regular maintenance to ensure that the image stabilization system functions optimally. Proper calibration not only enhances the performance of the stabilization system but also contributes to maintaining the overall quality of the images and videos captured.
| Common Issues With Image Stabilization |
|---|
| Blurred Images |
| Inconsistent Image Sharpness |
| Distortions |
| Impact on Visual Appeal |
Tools Needed for Repairing Image Stabilization

As repair technicians, it's essential to have a set of specialized tools for addressing image stabilization issues effectively and efficiently. When it comes to repairing techniques and equipment maintenance for image stabilization, having the right tools can make all the difference. Here are the tools that are indispensable for this kind of repair:
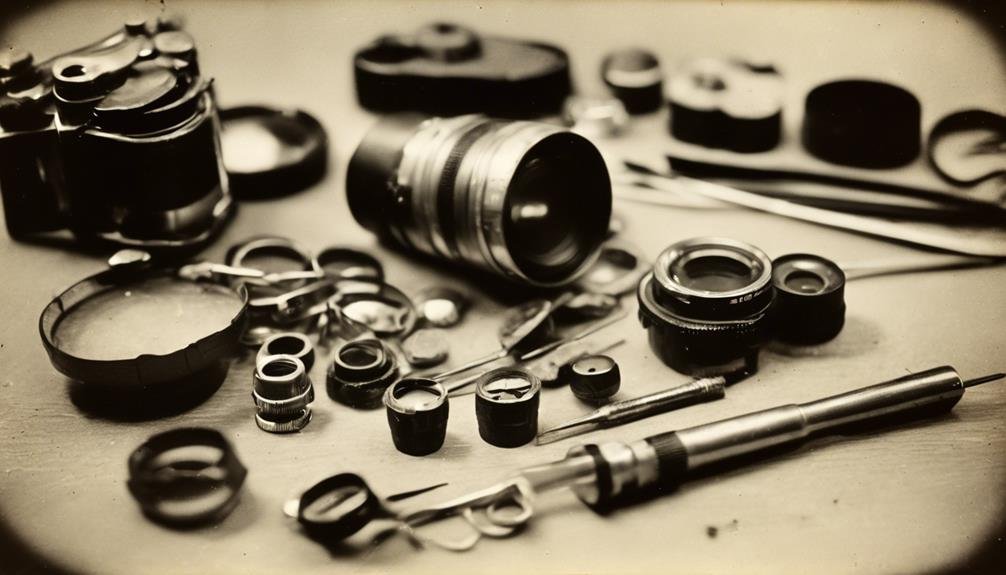
- Screwdriver Set: A high-quality screwdriver set with various head types and sizes is crucial for disassembling and reassembling the delicate components of image stabilization systems.
- Tweezers: Precision tweezers are essential for handling small parts and delicate wires without causing damage.
- Lens Cleaning Kit: Keeping lenses and sensors clean is vital for proper image stabilization functionality, so a quality lens cleaning kit is a must-have.
- Calibration Tools: Specialized calibration tools are necessary for fine-tuning and aligning the image stabilization components to ensure optimal performance.
- Anti-Static Equipment: To prevent damage from electrostatic discharge, anti-static wrist straps and mats are essential when working on image stabilization systems.
Having these tools readily available will enable repair technicians to effectively diagnose and address image stabilization issues, ensuring that the equipment is maintained and functioning at its best.
DIY Image Stabilization Repair Techniques
Alright, let's get into the nitty-gritty of DIY image stabilization repair techniques. We'll cover the basic tools you'll need and provide step-by-step instructions to help you tackle common issues with image stabilization. Whether it's a shaky lens or a wobbly viewfinder, we've got you covered with practical tips and tricks to get your gear back in top shape.
Basic Tools Needed
To effectively repair image stabilization, it's essential to have the right tools readily available, ensuring a smoother and more efficient repair process. When it comes to DIY image stabilization repair, having the necessary tools is critical. Here are the basic tools needed for image stabilization repair:
- Precision screwdriver set: This is essential for disassembling the camera and accessing the internal components.
- Anti-static wrist strap: Helps to prevent damage from electrostatic discharge during the repair process.
- Tweezers: Useful for handling small screws and delicate components.
- Lens cleaning kit: Ensures that the lenses are free from dust and smudges after the repair.
- Multimeter: Useful for troubleshooting electrical issues and ensuring proper connections.
Having these tools on hand will greatly facilitate the image stabilization repair process and help to achieve professional results.
Step-By-Step Instructions
Navigating the intricate process of DIY image stabilization repair techniques requires careful attention to detail and a methodical approach to ensure successful results. When troubleshooting image stabilization issues, it's essential to follow a systematic repair process. Here are step-by-step instructions for DIY image stabilization repair:
| Steps | Details |
|---|---|
| 1. Identify the Issue | Diagnose the specific problem with image stabilization. |
| 2. Disassembly | Carefully disassemble the equipment for inspection. |
| 3. Repair | Address the identified issue using appropriate tools and techniques. |
| 4. Calibration | Follow calibration requirements as per technical specifications. |
| 5. Reassembly | Reassemble the equipment, ensuring all components are in place. |
Professional Image Stabilization Repair Services

When seeking professional image stabilization repair services, it's essential to thoroughly research and compare the qualifications and reputations of potential service providers. Image stabilization technology advancements have led to increasingly complex systems, making it crucial to entrust repairs to skilled professionals. Here are key factors to consider:
- Expertise: Look for technicians with specialized training in image stabilization technology and a proven track record of successful repairs.
- Quality Parts: Ensure that the repair service uses high-quality, manufacturer-approved replacement parts to maintain the integrity of the stabilization system.
- Warranty: Opt for repair services that offer a warranty on their work, providing assurance and protection in case of any issues post-repair.
- Turnaround Time: Consider the service provider's turnaround time for repairs, aiming for a balance between efficiency and thoroughness.
- Customer Reviews: Research customer feedback and reviews to gauge the overall satisfaction and reliability of the repair service.
Professional repairs are paramount in preserving the functionality and performance of image stabilization systems. By carefully evaluating these factors, you can confidently select a repair service that aligns with the importance of professional repairs in the ever-evolving landscape of image stabilization technology.
Testing the Effectiveness of Repaired Image Stabilization
After entrusting our image stabilization system to professional repair services, it's crucial to test the effectiveness of the repairs to ensure optimal functionality and performance. There are several testing methods we can employ to evaluate the performance of the repaired image stabilization. One effective method is to conduct real-world testing by taking a series of photos or videos in different conditions, such as low light or fast motion, to assess the stabilization's ability to compensate for camera shake. Additionally, utilizing testing equipment, such as vibration analysis tools, can provide quantitative data on the stabilization system's performance.
Another crucial aspect of testing the repaired image stabilization is to compare its performance before and after the repair. This can be achieved by conducting side-by-side comparisons of images and videos taken with the camera before and after the repair. By doing so, we can effectively evaluate the improvements in stabilization and identify any remaining issues that may require further attention. Overall, thorough performance evaluation through various testing methods is essential to ensure that the repaired image stabilization meets the desired functionality and performance standards.
Maintenance Tips for Image Stabilization Systems

To maintain optimal functionality and performance of image stabilization systems, it is essential to adhere to regular maintenance practices and care for the equipment. By following these maintenance tips, you can ensure that your image stabilization system continues to operate effectively, providing you with high-quality, steady images.
- Regular Cleaning: Dust and dirt can affect the functionality of image stabilization systems. Regularly clean the equipment using a soft brush and lens cleaning solution to prevent debris from causing any issues.
- Proper Storage: When not in use, store the equipment in a cool, dry place to prevent any damage from moisture or extreme temperatures.
- Firmware Updates: Keep your equipment up to date by regularly checking for firmware updates. These updates often include improvements to the image stabilization system's performance.
- Professional Inspections: Consider having your equipment professionally inspected annually to ensure that all components are functioning as they should.
- Handle with Care: When using and transporting the equipment, handle it with care to prevent any physical damage that could impact the image stabilization system.
Frequently Asked Questions
Can Image Stabilization Be Repaired on All Types of Cameras, Including DSLRs, Mirrorless, and Point-And-Shoot Cameras?
Absolutely, image stabilization can be repaired on various camera types, including DSLRs, mirrorless, and point-and-shoots. DIY repair can be tricky, but professional maintenance is crucial. We'll discuss common issues and best practices for each type.
Are There Any Specific Safety Precautions to Keep in Mind When Attempting to Repair Image Stabilization Systems at Home?
When attempting DIY repair on image stabilization systems, safety precautions are essential. Potential risks include damaging the camera further. It's crucial to research brand issues and follow proper camera maintenance guidelines.
What Are the Potential Risks of Attempting a DIY Repair on an Image Stabilization System?
Attempting a DIY repair on image stabilization systems can pose potential risks, including damaging sensitive components or voiding warranties. It's crucial to understand the intricacies of camera maintenance and follow safety precautions to avoid costly mistakes.
How Often Should Image Stabilization Systems Be Maintained to Prevent Issues From Arising?
Image stabilization maintenance is crucial to prevent common issues. We've found that regular check-ups every 6-12 months can help to keep the system in top condition, avoiding potential problems down the line.
Are There Any Specific Brands or Models of Cameras That Are Known to Have More Frequent Image Stabilization Issues?
Sure, some brands or models may have more common issues with image stabilization. Troubleshooting tips for specific brands and models can help identify and address these problems, ensuring smooth operation and optimal performance.
